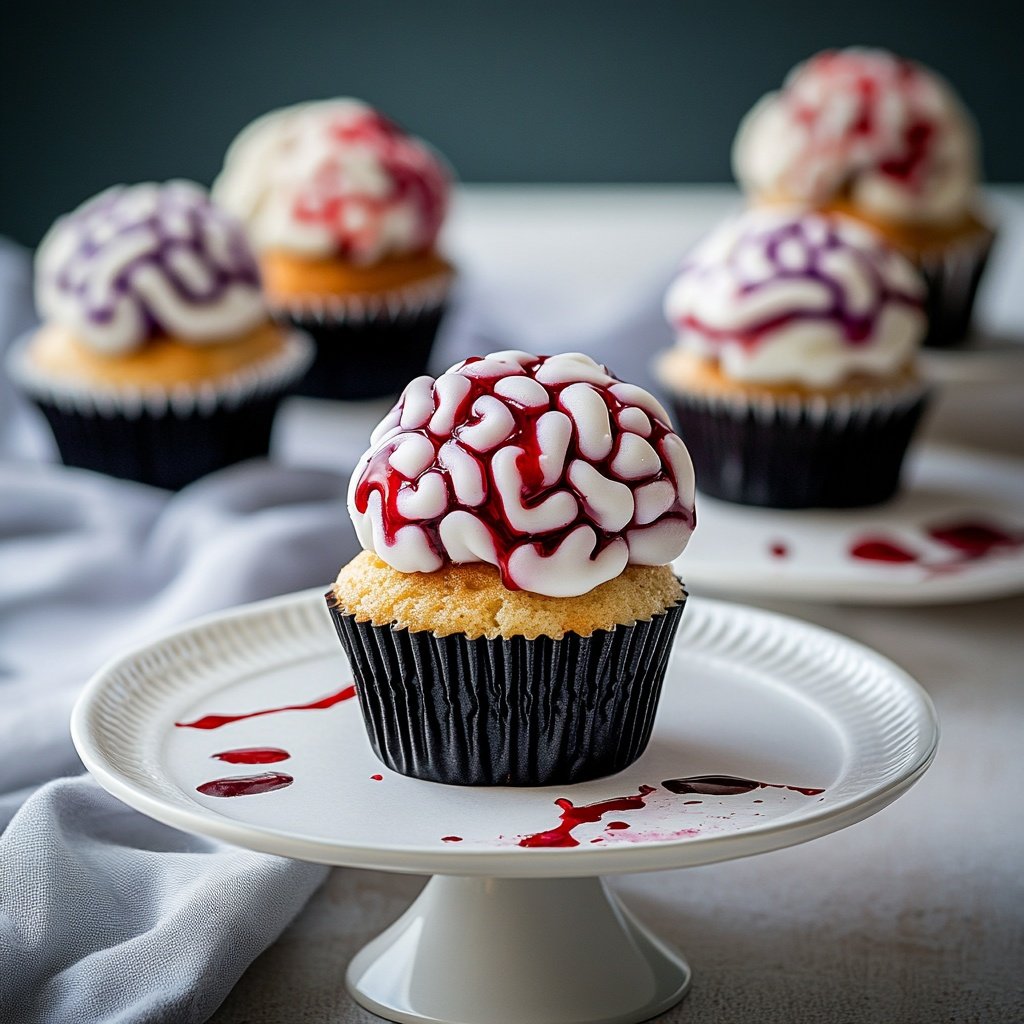
Halloween Brain Cupcakes Recipe

Halloween Brain Cupcakes are the perfect way to combine delicious flavor with unforgettable presentation at any spooky gathering.
These cupcakes deliver more than just shock value: moist cake, tangy cream cheese frosting, and an ultra-realistic “brain” effect topped with edible blood.
Whether you’re an experienced baker or crafting a fun project with kids, these cupcakes guarantee a memorable Halloween dessert table.
This step-by-step guide covers all you need to achieve not only an eerie look, but also truly crave-worthy flavor. Plus, you’ll find tips for customizing colors, dietary swaps, and troubleshooting for bakery-worthy results.
Ingredients Checklist
Start by assembling these ingredients, along with helpful notes for substitutions, dietary alternatives, and extra flavor or color impact.
-
For the Cupcakes
-
1 box chocolate or red velvet cake mix (or homemade recipe of choice)
-
3 large eggs (room temperature)
-
½ cup vegetable oil
-
1 cup buttermilk (for extra moistness; can use milk or plant-based milk)
-
1 teaspoon vanilla extract
-
-
For the Brain Frosting
-
8 oz (225g) cream cheese, softened
-
½ cup (1 stick, 113g) unsalted butter, softened
-
3–3½ cups (360–420g) powdered sugar, sifted
-
1–2 teaspoons vanilla extract
-
Pinch salt
-
1–2 teaspoons beet puree or a drop of pink gel food coloring (for natural or vivid color)
-
Optional: 1–2 tablespoons strawberry or raspberry jam, pureed and strained
-
-
For the Edible Blood (Topping)
-
¼ cup strawberry or raspberry jam or jelly (strained for smoothness)
-
2–3 tablespoons corn syrup (for shine and viscosity)
-
Red food coloring (for deep, blood-like hue)
-
Optional: 1 teaspoon cocoa powder or black gel color for a “darker blood” effect
-
-
Equipment Checklist
-
12-cup cupcake pan and liners
-
Piping bag with small round tip (Wilton #5 or #7 recommended) or zip-top bag with tip cut off
-
Toothpicks or small offset spatula for detailing
-
Stand mixer or hand mixer
-
Mixing bowls, spatulas, and measuring tools
-
Allergy and Dietary Notes:
-
Make gluten-free by using a gluten-free cake mix or flour blend.
-
Use dairy-free cream cheese and vegan butter for dairy allergies.
-
Natural color option: beet puree in frosting for pink without artificial dye.
Step-by-Step Instructions
This process ensures a smooth workflow, from batter to finishing details, and addresses common pitfalls like sinking cupcakes, runny frosting, or messy piping.
Start by preheating the oven to 350°F (175°C) and lining a 12-cup muffin pan with cupcake liners.
1. Prepare the Cupcake Batter
-
In a large bowl, mix cake mix, eggs, oil, buttermilk, and vanilla until well combined. Avoid over-mixing, as it can create dense cupcakes.
-
Divide batter evenly among cupcake liners, filling each about ⅔ full.
-
Bake 16–20 minutes (time may vary by recipe or mix). Cupcakes are done when a toothpick inserted in the center comes out clean or with a few moist crumbs.
-
Let cool completely on a wire rack before decorating.
2. Make the Brain Frosting
-
In a clean bowl, beat cream cheese and butter together until creamy and smooth, about 2–3 minutes.
-
Add vanilla and salt, then gradually add powdered sugar on low speed. Increase speed and whip until thick, fluffy, and pipeable.
-
Mix in beet puree or pink gel coloring a little at a time, until you reach a brain-pink hue.
-
For added depth, blend in a little strawberry/raspberry jam for flavor and extra “fleshy” color.
-
If the frosting is too soft, chill in the fridge for 15–20 minutes before piping.
3. Prepare the Edible Blood
-
In a small bowl, whisk together strained jam, corn syrup, and a drop of red (and optionally black) gel coloring.
-
Add cocoa powder if you want a darker, more realistic blood.
-
Test the consistency: it should drip slowly from a spoon but not be watery.
4. Frost and Decorate the Brain Cupcakes
-
Spread a thin layer of brain frosting over each cooled cupcake as a “base.”
-
Fill a piping bag fitted with a small round tip with the rest of the frosting.
-
Pipe a straight line down the center of each cupcake (the brain’s central sulcus).
-
On each side, pipe continuous squiggly lines to resemble brain folds. Imperfection is ideal here—organic, irregular squiggles look more real.
-
Use a toothpick or small spatula to add extra definition between folds, if desired.
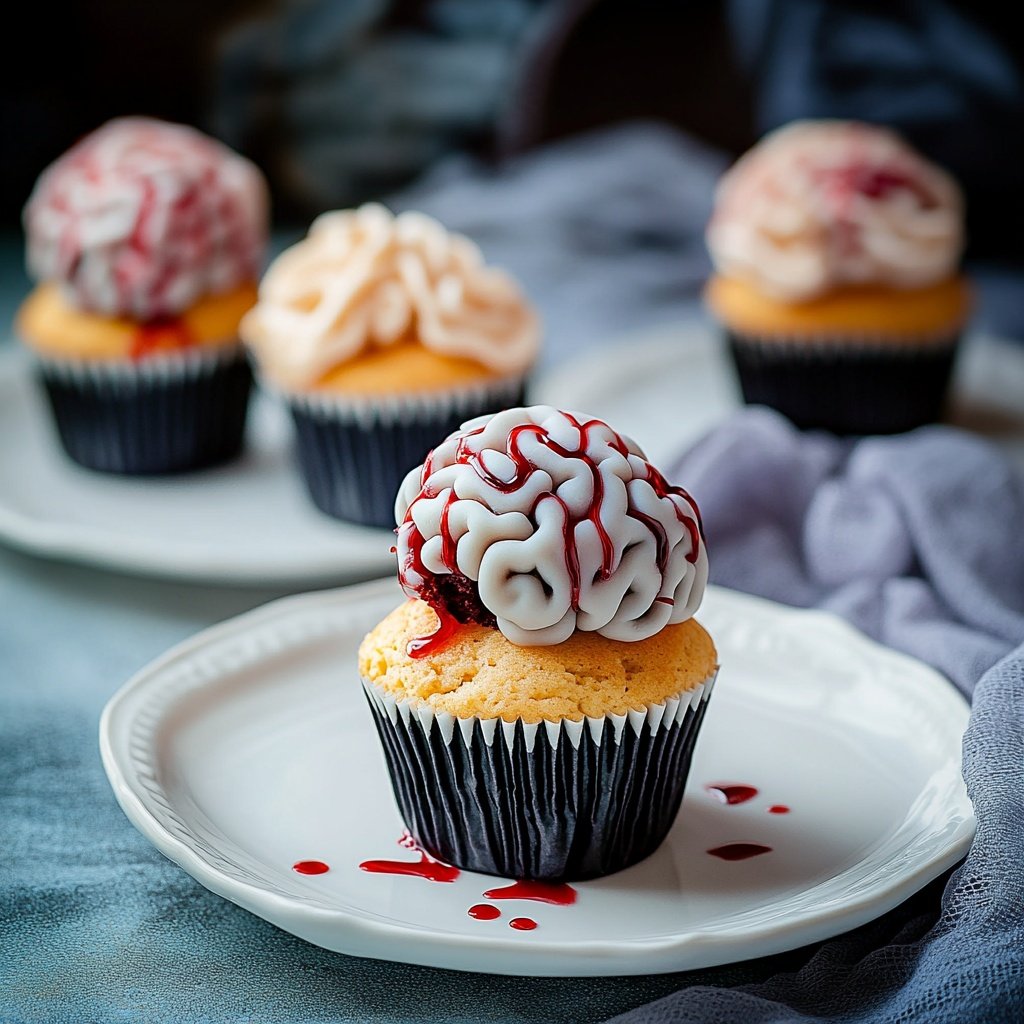
5. Apply the Edible Blood
-
Drizzle or spoon the blood mixture into the crevices and over the top, letting it drip naturally for a gory effect.
-
Let cupcakes set for 15 minutes or chill briefly to keep the “blood” in place.
Tips for Perfect Results
A few expert tips will guarantee your brain cupcakes look and taste amazing every time.
-
Cupcake Uniformity: Use an ice cream scoop for even batter distribution.
-
Frosting Consistency: If frosting is too stiff, add a tablespoon of milk; if too loose, add a bit more powdered sugar and chill.
-
Natural vs. Bold Color: For a more muted, realistic pink, use beet puree and jam. For cartoonish brains, add pink gel food color.
-
Stabilize Cream Cheese Frosting: Don’t overbeat, and chill before piping if your kitchen is warm.
-
Super-Gory Effect: Use a small clean brush to splatter extra “blood” onto the brains for a splattered look.
-
Flavor Boost: Add a few drops of almond extract to the frosting or a layer of jam in the center of each cupcake for a bloody surprise.
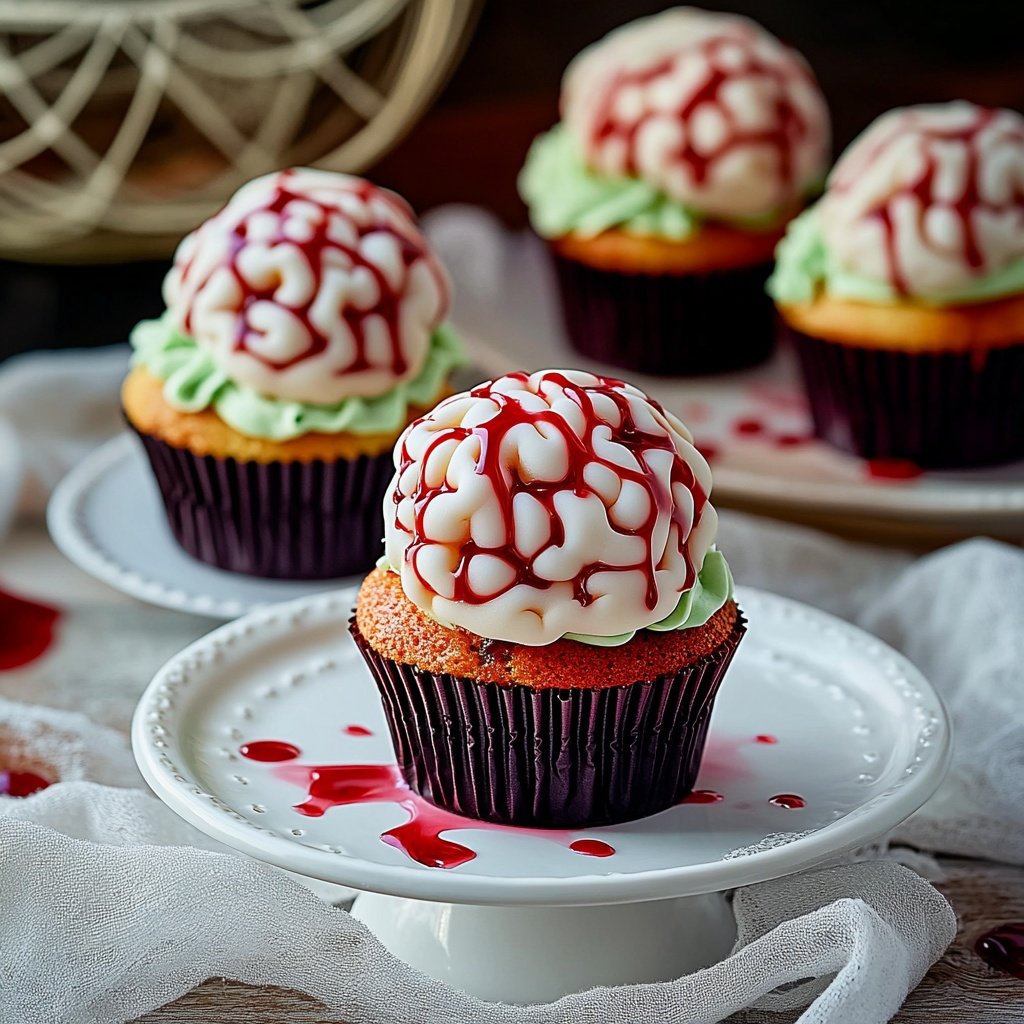
Serving Suggestions
Take your presentation up a notch with these serving and party ideas.
-
Arrange cupcakes on a black cake stand or tray with plastic spiders and Halloween décor.
-
Serve with pipettes of extra “blood” for guests to inject into the brains.
-
Pair with Halloween punch, blood-red mocktails, or classic hot chocolate.
-
Offer with other themed treats, such as “witch finger” cookies or edible eyeball candies for a complete spooky spread.
-
Individually box cupcakes for party favors or Halloween gifts.
Final Thoughts
Halloween Brain Cupcakes deliver maximum visual impact, but with the right technique, they’re also delicious, moist, and rich. This recipe lets you control every detail, from dietary swaps to realistic colors and textures. By following these steps and tips, you can create memorable cupcakes that are both spooky and scrumptious—sure to steal the spotlight at any Halloween event. Feel free to personalize your brains with your own creative touches and enjoy the fun of baking creepy treats everyone will want to try.

Sabrina Khan Tisha is the creative force behind Dessert Diary, a recipe blog celebrating desserts, cakes, cupcakes, muffins, and sweet treats. With a passion for baking, she shares simple, delicious recipes and tips to inspire home bakers everywhere.