Butterfinger Bundt Cake Recipe

Butterfinger Bundt Cake is a show stopping dessert that transforms classic candy bars into a moist, flavorful cake with irresistible texture and crunch.
By combining tender cake layers, peanut butter, chocolate, and real Butterfinger pieces, this cake is both nostalgic and gourmet.
Whether you’re baking for a crowd or treating yourself, this detailed guide delivers every technique, substitution, and troubleshooting tip you need for bakery-level results.
Ingredients Checklist
To ensure the best outcome for your Butterfinger Bundt Cake, gather all ingredients and equipment before you begin. Quality and proper measurements make a real difference in the final texture and flavor.
-
For the Cake:
-
2 cups (250g) all-purpose flour, sifted
-
1 teaspoon baking powder
-
½ teaspoon baking soda
-
½ teaspoon fine sea salt
-
½ cup (115g) unsalted butter, softened
-
½ cup (120ml) neutral oil (vegetable or canola)
-
1 ¼ cups (250g) granulated sugar
-
½ cup (100g) packed light brown sugar
-
4 large eggs, room temperature
-
2 teaspoons pure vanilla extract
-
⅔ cup (160g) sour cream or plain Greek yogurt, room temperature
-
½ cup (120ml) whole milk, room temperature
-
½ cup (125g) creamy peanut butter (not natural)
-
1 cup (170g) semisweet chocolate chips or chopped chocolate
-
1 ½ cups (about 6 fun-size bars) chopped Butterfinger candy bars
-
-
For the Peanut Butter Frosting:
-
½ cup (115g) unsalted butter, softened
-
⅓ cup (85g) creamy peanut butter
-
2 ¼ cups (270g) powdered sugar, sifted
-
1 teaspoon vanilla extract
-
2–3 tablespoons milk or cream
-
-
For Garnish:
-
½ cup chopped Butterfinger bars or Butterfinger baking bits
-
-
Equipment:
-
12-cup Bundt pan (nonstick recommended)
-
Stand mixer or hand mixer
-
Mixing bowls (large and medium)
-
Fine-mesh sieve
-
Spatula
-
Whisk
-
Serrated knife for chopping candy
-
Measuring cups and spoons
-
Cooling rack
-
Step-by-Step Instructions
A methodical approach ensures your Butterfinger Bundt Cake bakes up light, moist, and packed with flavor. Here’s a step-by-step breakdown for best results.
1. Prepare the Pan and Ingredients
Grease the Bundt pan thoroughly with butter or baking spray, ensuring every nook is coated. Dust lightly with flour, tapping out excess. Preheat your oven to 350°F (175°C).
2. Mix Dry Ingredients
In a medium bowl, whisk together the flour, baking powder, baking soda, and salt. Sifting creates a lighter crumb and prevents lumps.
3. Cream Butter, Oil, and Sugars
In a large bowl, beat the softened butter, oil, granulated sugar, and brown sugar together until light and fluffy, 3–4 minutes. This ensures maximum aeration and a tender cake.
4. Add Eggs and Flavors
Beat in the eggs one at a time, mixing well after each. Add the vanilla and creamy peanut butter, scraping down the bowl to incorporate fully.
5. Combine Wet and Dry Ingredients
With the mixer on low, add half of the flour mixture. Then mix in the sour cream and milk. Add remaining flour mixture and mix just until combined—avoid overmixing. Fold in the chopped chocolate and 1 cup Butterfinger pieces gently with a spatula.
6. Bake
Transfer the thick batter into the prepared pan, smoothing the top. Bake 45–55 minutes, or until a skewer inserted into the center comes out clean or with just a few moist crumbs. Avoid overbaking; check early for doneness.
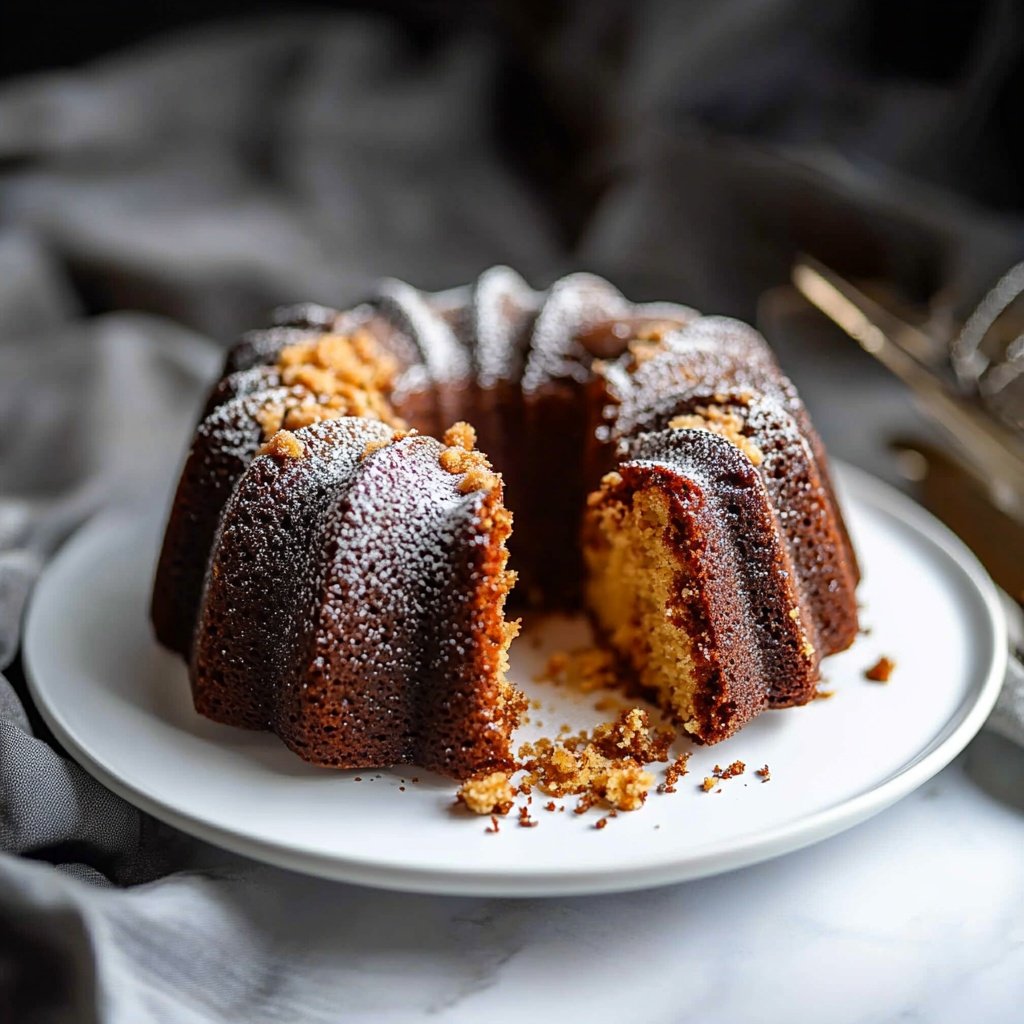
7. Cool and Release
Cool the cake in the pan for 15 minutes. Run a thin knife around edges, invert onto a wire rack, and cool completely. Bundt cakes can be delicate—allow them to firm up before unmolding.
8. Make the Peanut Butter Frosting
Beat the butter and peanut butter together until creamy. Add sifted powdered sugar, vanilla, and 2 tablespoons milk; beat until smooth and fluffy. If too thick, add extra milk a teaspoon at a time until you reach a pourable yet thick consistency.
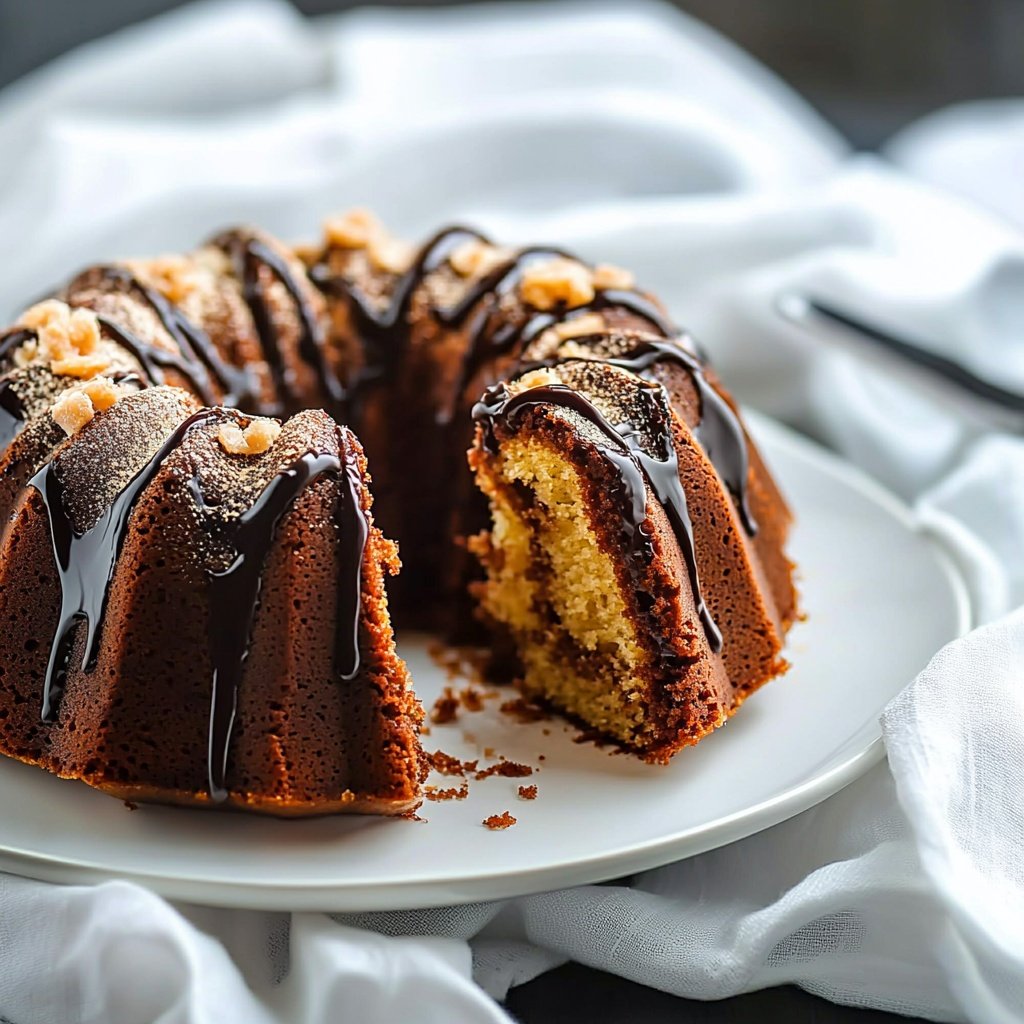
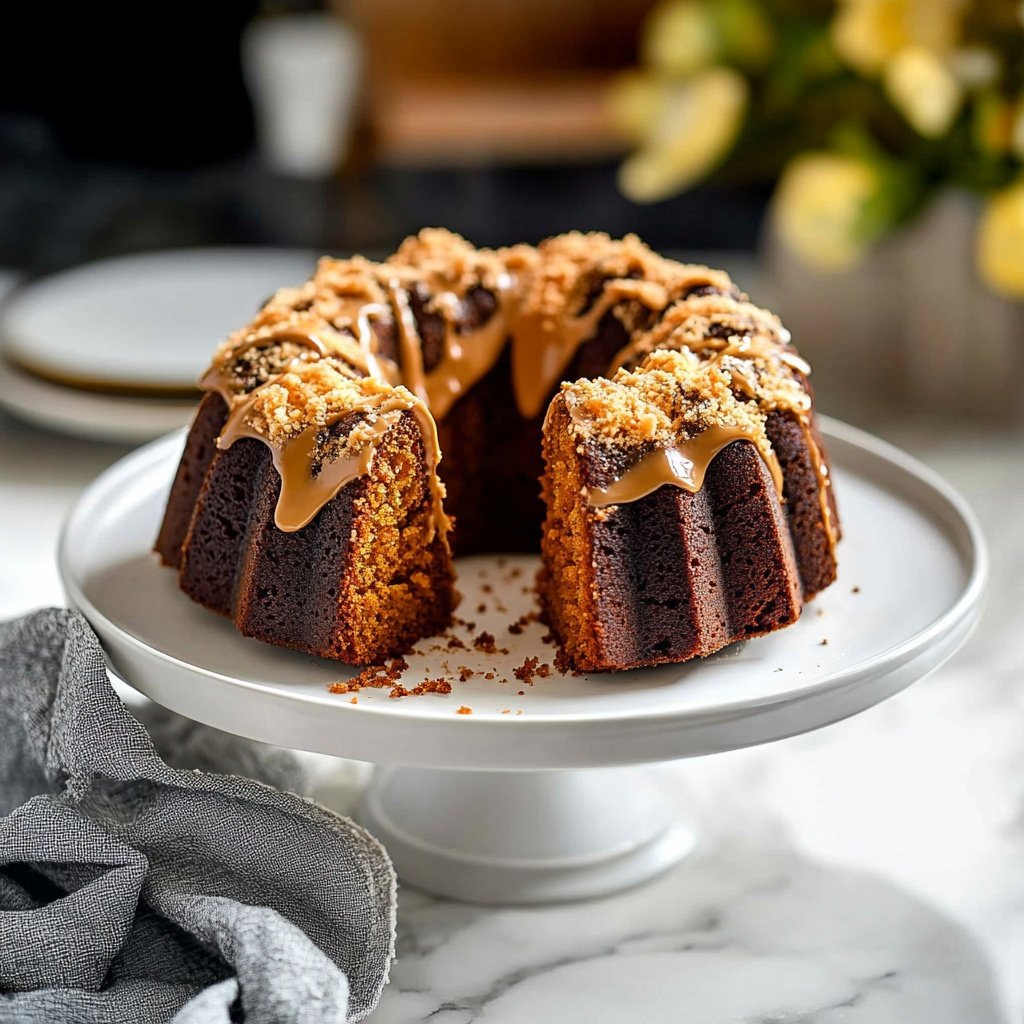
9. Frost and Garnish
Drizzle frosting over the cooled cake, letting it drip down the sides. Immediately sprinkle with remaining chopped Butterfinger pieces for crunch and visual appeal.
Tips for Perfect Results
Following these essential tips will help you achieve bakery-quality cake every time.
-
Don’t Skip Pan Prep: Even nonstick Bundt pans need thorough greasing and dusting. For intricate pans, use a pastry brush to reach every crevice.
-
Room Temperature Ingredients: Cold eggs, milk, or butter can cause the batter to curdle and bake unevenly.
-
Chop Candy with Care: Use a serrated knife for clean Butterfinger chunks without crushing them to dust.
-
Mix Gently After Adding Flour: Overmixing after the flour goes in can make the cake dense.
-
Check Doneness Early: Bundt cakes can overbake quickly—start checking 5–7 minutes before the timer goes off.
-
Let It Cool Before Frosting: Frosting a warm cake will cause it to slide off and become greasy.
Serving Suggestions
Once your Butterfinger Bundt Cake is frosted and garnished, there are creative ways to serve and elevate the experience:
-
Slice with a sharp, serrated knife for clean cuts showcasing the candy and chocolate inside.
-
For a decadent finish, serve each slice with a scoop of vanilla or chocolate ice cream.
-
Drizzle with extra melted chocolate or caramel for an over-the-top dessert.
-
Add a sprinkle of flaky sea salt on the frosting to balance the sweetness.
-
Pair with strong coffee or cold milk for a classic flavor combination.
-
For parties, cut into small wedges and serve on a platter with extra Butterfinger chunks scattered around for a striking display.
Final Thoughts
This Butterfinger Bundt Cake brings together everything a great dessert should: layers of flavor, irresistible textures, and visual appeal.
By using the right combination of butter, oil, sour cream, and real Butterfinger pieces, you achieve a perfectly moist crumb and rich taste in every bite.
The detailed tips, troubleshooting, and serving ideas in this guide will help you consistently bake an impressive cake that stands out at any gathering.
For even more excitement, experiment with chocolate glazes, add-ins like pretzels or chopped peanuts, or mini Bundt versions for individual treats. With this expert approach, your Butterfinger Bundt Cake will be unforgettable—every single time.

Sabrina Khan Tisha is the creative force behind Dessert Diary, a recipe blog celebrating desserts, cakes, cupcakes, muffins, and sweet treats. With a passion for baking, she shares simple, delicious recipes and tips to inspire home bakers everywhere.