Decadent Chocolate Peanut Butter Cake Recipe

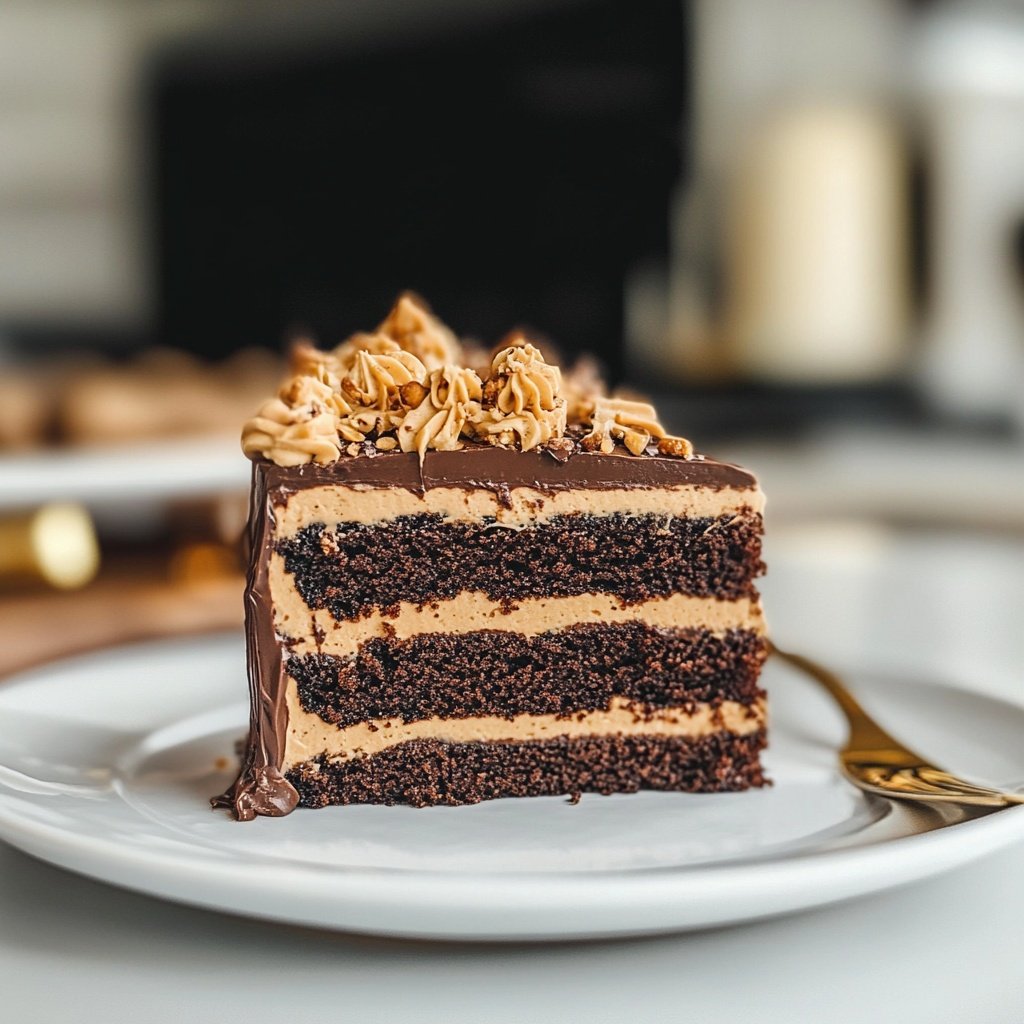
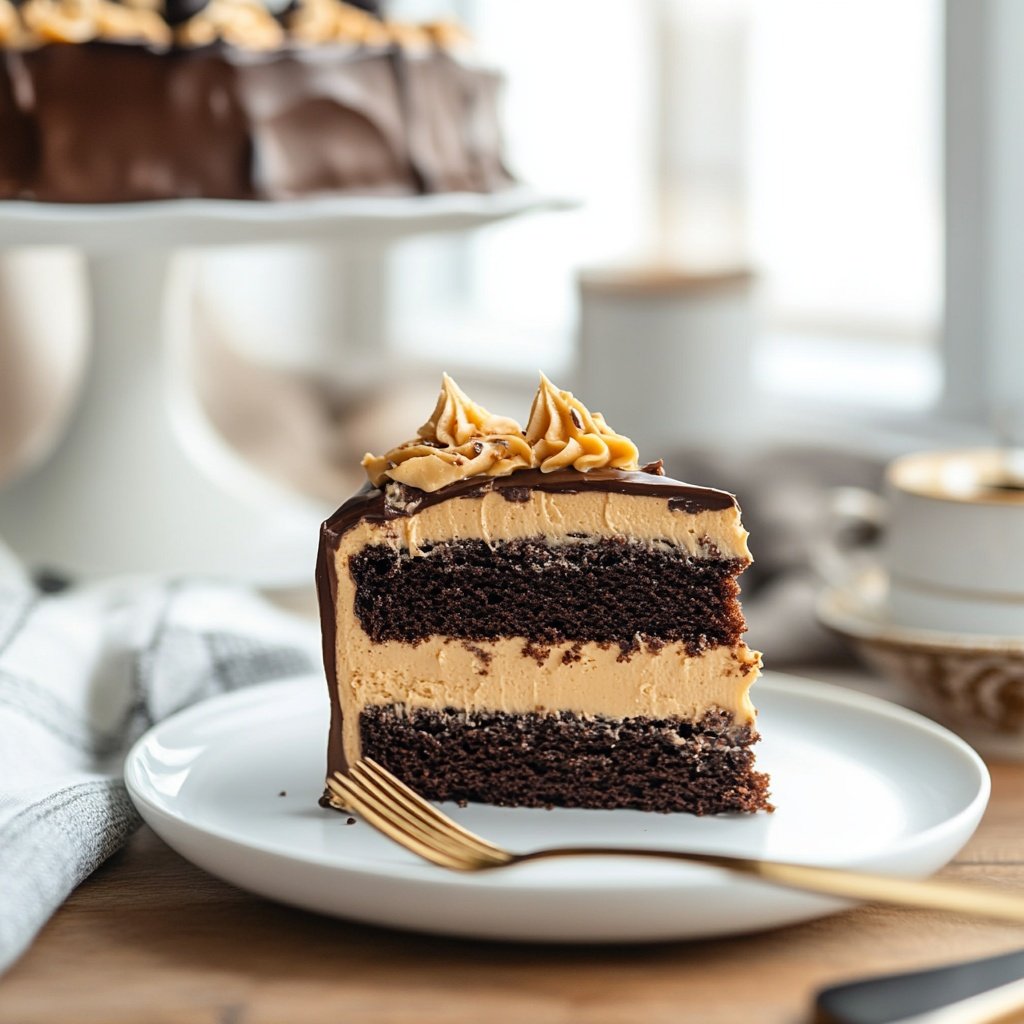
Chocolate Peanut Butter Cake Recipe brings together two classic flavors in one unforgettable dessert. This triple-layer cake features moist, deeply chocolatey cake layers sandwiched and covered with a luxuriously creamy peanut butter frosting, then finished with a glossy chocolate sauce.
Each bite is rich, tender, and balanced—a dream for chocolate and peanut butter fans alike. Whether for birthdays, gatherings, or a special weekend bake, this recipe delivers not just taste but a show-stopping appearance.
Plus, every step is loaded with helpful tips and creative ideas to ensure bakery-quality results in your own kitchen.
Ingredients Checklist
Gathering the right ingredients ensures both taste and texture are at their best. Use this checklist to stay organized and select high-quality components.
For the Chocolate Cake Layers:
-
2 cups (250g) all-purpose flour
-
¾ cup (65g) unsweetened cocoa powder (Dutch-process for richer color and flavor)
-
2 teaspoons baking powder
-
2 teaspoons baking soda
-
1 teaspoon fine salt
-
2 cups (400g) granulated sugar
-
½ cup (100g) packed brown sugar (adds extra moisture and depth)
-
5 oz (140g) high-quality dark chocolate, chopped
-
6 tablespoons (85g) unsalted butter
-
2 tablespoons (30ml) vegetable oil
-
1 cup (240ml) whole milk or buttermilk, room temperature
-
1 cup (240ml) hot water or hot brewed coffee (coffee enhances chocolate flavor)
-
1 tablespoon pure vanilla extract
-
2 large eggs, room temperature
For the Peanut Butter Frosting:
-
1 cup (225g) unsalted butter, room temperature
-
1 ¼ cups (315g) creamy peanut butter (avoid “natural” types for best texture)
-
2 teaspoons pure vanilla extract
-
½ teaspoon fine salt
-
2½–3 cups (320–380g) powdered sugar, sifted
-
2–4 tablespoons (30–60ml) heavy cream or milk, as needed
For the Chocolate Sauce or Ganache:
-
4 oz (115g) semi-sweet or dark chocolate, chopped
-
½ cup (120ml) heavy cream
-
1 tablespoon corn syrup or honey (optional, for shine)
Optional Garnishes:
-
Mini peanut butter cups or chopped roasted peanuts
-
Flaky sea salt
-
Additional melted peanut butter for drizzling
Baking Equipment:
-
Three 8-inch round cake pans
-
Parchment paper
-
Stand mixer or hand mixer
-
Offset spatula
-
Serrated knife (for leveling layers)
-
Cooling racks
-
Saucepan for ganache
Step-by-Step Instructions
Following each stage carefully ensures a professional result, both in taste and presentation.
1. Prepare the Cake Pans and Oven
-
Preheat oven to 350°F (177°C).
-
Grease three 8-inch cake pans. Line bottoms with parchment circles and lightly dust with cocoa powder. Tap out excess.
2. Make the Chocolate Cake Batter
-
In a large bowl, whisk flour, cocoa, baking powder, baking soda, salt, and sugars.
-
In a saucepan, heat hot water (or coffee) and butter until the butter melts. Remove from heat, add chopped chocolate, and stir until smooth.
-
In a separate bowl, whisk together milk (or buttermilk), oil, vanilla, and eggs until blended.
-
Pour the melted chocolate mixture and wet ingredients into the dry mix. Stir just until no streaks remain. Do not overmix—this keeps the cake tender.
3. Bake the Cake Layers
-
Divide batter evenly between prepared pans. Tap pans gently on the counter to release air bubbles.
-
Bake on the middle rack for 18–23 minutes. Begin checking at 18 minutes—a toothpick should come out with a few moist crumbs but not wet batter.
-
Cool cakes in pans for 10 minutes, then invert onto a wire rack to cool completely.
4. Prepare the Peanut Butter Frosting
-
In a stand mixer or large bowl, beat butter and peanut butter together until light and creamy.
-
Add vanilla and salt, mixing well.
-
Gradually add sifted powdered sugar, ½ cup at a time, beating on medium speed. Add cream or milk as needed, beating until fluffy and spreadable.
5. Make the Chocolate Sauce or Ganache
-
In a small saucepan, heat cream just until steaming. Pour over chopped chocolate (and corn syrup, if using). Let stand 2 minutes, then stir until glossy and smooth. Let cool slightly to thicken.
6. Assemble and Frost the Cake
-
If cake tops are domed, level with a serrated knife.
-
Place first layer on serving plate. Spread a thick, even layer of peanut butter frosting. Repeat with the second layer, then place the third on top.
-
Apply a thin “crumb coat” layer of frosting over the entire cake. Chill for 20 minutes to set.
-
Apply the final coat of frosting smoothly over top and sides.
-
Drizzle chocolate ganache over the cake, allowing it to drip down the edges. Let set slightly.
-
Decorate with mini peanut butter cups, chopped peanuts, or a drizzle of melted peanut butter as desired.
Tips for Perfect Results
Every cake benefits from pro tips and an understanding of the science behind the bake.
-
Room Temperature Ingredients: Ensures even mixing and prevents curdled batter or frosting.
-
Coffee or Water? Use hot coffee in the batter for maximum chocolate depth. Water is fine for a milder flavor.
-
Frosting Texture: For the fluffiest frosting, beat well after each addition of sugar and after adding milk/cream. If it’s too stiff, add more milk a tablespoon at a time.
-
Clean Cake Slices: Chill the cake briefly before slicing, and wipe the knife clean between cuts.
-
Troubleshooting: If your cake layers are dry, check oven temp and don’t overbake. For a grainy frosting, ensure powdered sugar is sifted and butter is softened.
-
Peanut Butter Options: For allergy-friendly versions, use sunflower seed butter; for extra crunch, fold in chopped peanuts.
Serving Suggestions
Elevate this cake for different occasions and palettes with these serving ideas:
-
Serve with a scoop of vanilla or chocolate ice cream for an extra indulgent dessert.
-
Add a pinch of flaky sea salt on top for a flavor pop.
-
Pair with coffee, chocolate stout, or a glass of milk for a comforting treat.
-
Use cake as a base for a celebratory layer cake—add sliced bananas, jam, or caramel between the layers for a twist.
Final Thoughts
Chocolate Peanut Butter Cake Recipe is a celebration of rich chocolate and creamy peanut butter, perfect for any special gathering or as a bakery-worthy weekend project.
With make-ahead and storage tips, as well as advice on customizing flavors and presentation, this cake is as versatile as it is delicious.
Master the basics, then experiment with your own creative touches—try adding espresso powder, swirling raspberry jam into the frosting, or decorating with seasonal candies.
With these thorough instructions and expert tips, you’ll achieve a dessert that’s as impressive as it is irresistible, sure to satisfy the cravings of everyone lucky enough to share a slice.

Sabrina Khan Tisha is the creative force behind Dessert Diary, a recipe blog celebrating desserts, cakes, cupcakes, muffins, and sweet treats. With a passion for baking, she shares simple, delicious recipes and tips to inspire home bakers everywhere.