Classic American Boston Cream Pie
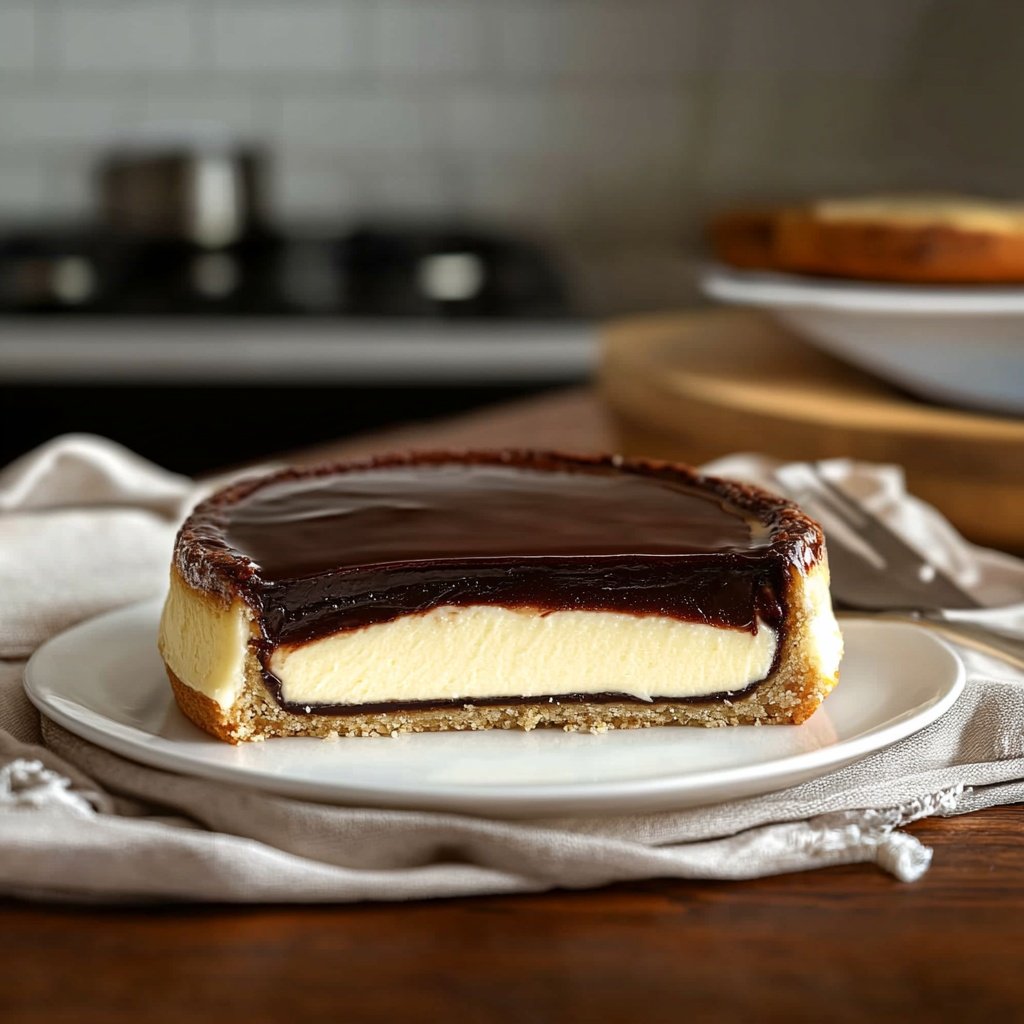
Boston Cream Pie is the iconic dessert that combines fluffy sponge cake, luscious vanilla custard, and a silky chocolate ganache, layered to perfection.
Despite its name, it’s a cake, not a pie—and for generations, it’s been a beloved choice for birthdays, holidays, and celebratory gatherings.
Mastering this dessert means achieving the right balance of textures: a soft, airy cake, a rich, set custard that won’t ooze out, and a glossy chocolate finish.
This detailed recipe addresses every step, troubleshooting, and variation, so you’ll never end up with a soggy base, runny custard, or dull chocolate topping.
Ingredients Checklist
Before starting, gather all ingredients at room temperature for best results. Here’s a comprehensive breakdown, including expert substitutions.
For the Sponge Cake:
-
All-purpose flour (1 cup; for a lighter cake, use cake flour)
-
Baking powder (1 teaspoon)
-
Salt (¼ teaspoon)
-
Unsalted butter (½ cup, softened)
-
Granulated sugar (¾ cup)
-
Large eggs (2, at room temperature)
-
Pure vanilla extract (1 teaspoon)
-
Whole milk (½ cup, at room temperature)
-
Optional: ½ teaspoon almond extract for a flavor boost
For the Custard (Pastry Cream) Filling:
-
Whole milk (2 cups)
-
Granulated sugar (½ cup)
-
Cornstarch (¼ cup; prevents weeping and ensures a stable filling)
-
Salt (¼ teaspoon)
-
Egg yolks (4, at room temperature)
-
Unsalted butter (2 tablespoons)
-
Pure vanilla extract (1 teaspoon)

For the Chocolate Ganache:
-
Semisweet or bittersweet chocolate (6 ounces, chopped; quality matters)
-
Heavy cream (½ cup)
-
Unsalted butter (1 tablespoon, for extra shine and smoothness)
Equipment Needed:
-
2 x 8-inch or 9-inch round cake pans (for a higher cake, use 8-inch pans)
-
Parchment paper
-
Stand mixer or electric hand mixer
-
Heatproof bowls
-
Medium saucepan
-
Whisk
-
Spatula
-
Cooling rack
-
Serrated knife (for leveling)
-
Offset spatula (for assembly)
Substitution Tips:
-
For gluten-free: use a 1:1 gluten-free flour blend.
-
For dairy-free: substitute plant-based butter and milk, and use dairy-free chocolate and cream alternatives.

Step-by-Step Instructions
A systematic approach yields the best Boston Cream Pie. Patience at each stage delivers bakery-worthy results.
1. Prepare the Sponge Cake
-
Preheat oven to 350°F (175°C). Grease pans, line bottoms with parchment, and grease again.
-
Whisk flour, baking powder, and salt in a bowl.
-
In a separate bowl, cream butter and sugar until light and fluffy (about 3-4 minutes).
-
Add eggs one at a time, beating well. Mix in vanilla (and almond extract if using).
-
Alternate adding flour mixture and milk, beginning and ending with flour. Do not overmix.
-
Divide batter between pans and smooth tops. Tap pans gently to release air bubbles.
-
Bake for 22–26 minutes (rotate halfway), or until a toothpick comes out clean.
-
Cool cakes in pans for 10 minutes, then turn onto racks to cool completely. Peel off parchment.
2. Make the Custard Filling
-
In a saucepan, heat 2 cups milk over medium heat until steaming (not boiling).
-
In a separate bowl, whisk sugar, cornstarch, salt, and egg yolks until pale and smooth.
-
Gradually whisk hot milk into egg mixture (tempering), then return all to the saucepan.
-
Cook over medium heat, whisking constantly, until mixture thickens and bubbles.
-
Remove from heat, whisk in butter and vanilla. Strain through a fine mesh sieve into a bowl for a silky finish.
-
Press plastic wrap directly onto the surface and chill at least 2 hours (overnight is best).

3. Make the Ganache
-
Place chopped chocolate in a heatproof bowl.
-
Heat cream until just simmering, then pour over chocolate. Let sit 2 minutes.
-
Add butter, then whisk until completely smooth and glossy. Cool to spreading consistency.
4. Assemble the Boston Cream Pie
-
Level cake layers with a serrated knife for a flat, professional finish.
-
Place one cake layer on a serving plate. Spread all of the chilled custard evenly over the top, leaving a ¼-inch border (custard will spread under weight).
-
Top with second cake layer. Gently press down to secure, but don’t squeeze out filling.
-
Pour ganache over the center, smoothing to edges and letting it drip decoratively down the sides.
-
Refrigerate for 1–2 hours to set before slicing (prevents sliding and ensures neat slices).
Tips for Perfect Results
These pro tips guarantee a standout Boston Cream Pie, free from common mistakes.
-
Cake texture: For an even lighter crumb, use cake flour or sift all-purpose flour twice.
-
Custard consistency: Don’t rush the pastry cream. If it looks lumpy, whisk vigorously off the heat and strain.
-
Avoid runny filling: Use enough cornstarch and chill custard thoroughly. If needed, whip 2–3 tablespoons of heavy cream and fold into chilled custard for extra body.
-
Level cake layers: Trim domed tops for a professional appearance and stable stacking.
-
Ganache shine: Stir in butter for an extra glossy finish.
-
Neat slices: Use a hot, clean knife for each slice.
-
Make-ahead: All components can be made a day ahead; assemble day of serving for best texture.
Serving Suggestions
Boston Cream Pie is elegant on its own, but presentation and pairings can elevate the experience.
-
Serve chilled or at cool room temperature for best texture.
-
Dust with powdered sugar or garnish with fresh berries or candied orange peel.
-
For plated desserts, add a drizzle of raspberry coulis or a dollop of whipped cream.
-
Pair with coffee, espresso, or a glass of dessert wine.
-
For parties, cut into small squares or use the same components to make Boston Cream Pie cupcakes or trifles.
Final Thoughts
A classic Boston Cream Pie stands out for its perfect harmony of tender cake, rich custard, and decadent chocolate. By following these expert-tested steps, you’ll create a dessert that’s not only nostalgic and impressive, but also customizable for modern diets and occasions. Patience and care are the keys—take your time with each step, and your finished cake will rival any bakery’s. Keep this recipe in your repertoire for birthdays, holidays, and every celebration that deserves a true American classic.

Sabrina Khan Tisha is the creative force behind Dessert Diary, a recipe blog celebrating desserts, cakes, cupcakes, muffins, and sweet treats. With a passion for baking, she shares simple, delicious recipes and tips to inspire home bakers everywhere.