Delicious Cherries in the Snow Poke Cake Recipe
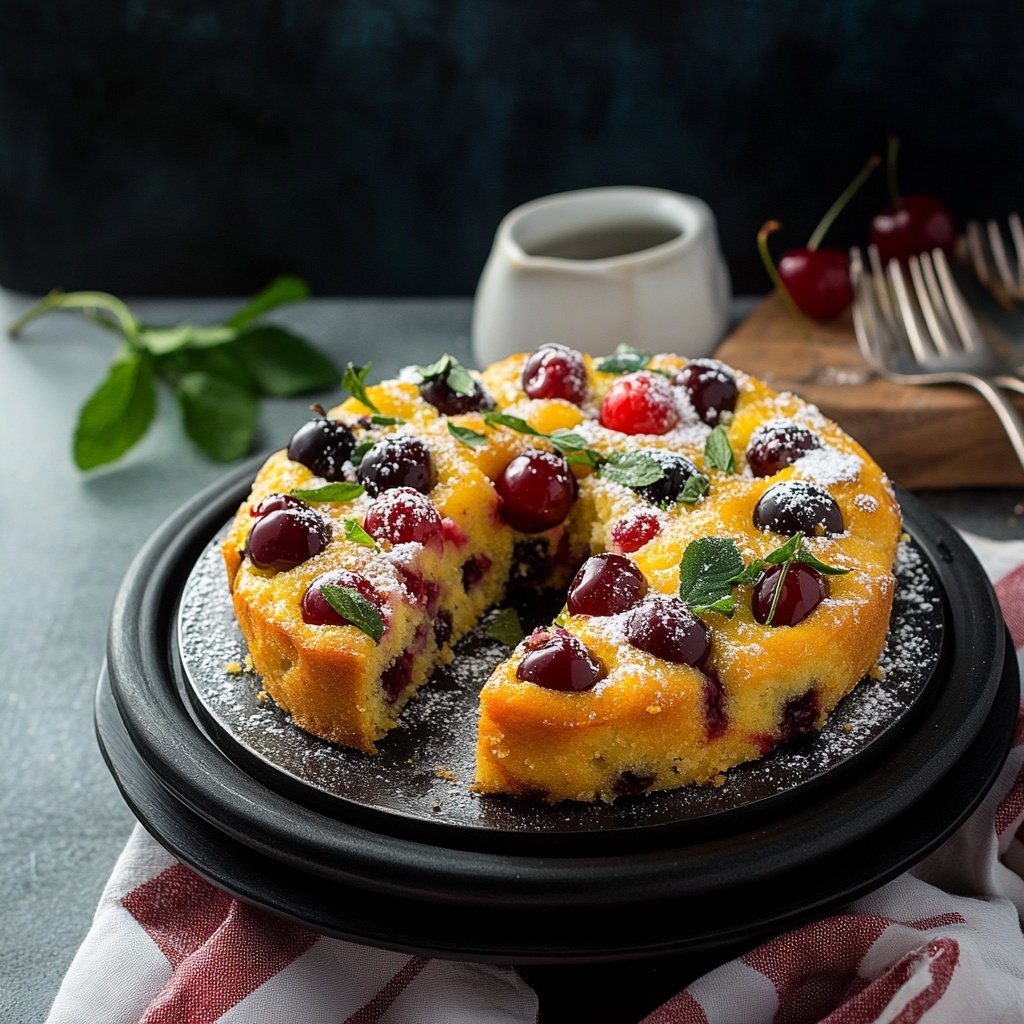
Cherries in the Snow Poke Cake Recipe is a classic American dessert that pairs a moist, fluffy cake with a dreamy layer of vanilla pudding, clouds of whipped topping, and a rich blanket of cherry pie filling.
Loved for its visual appeal and its crowd-pleasing flavor, this poke cake is not only easy to assemble but also ideal for make-ahead entertaining.
This comprehensive guide will help you avoid common pitfalls, provide pro tips for success, and offer variations for dietary needs or creative twists. Every detail is covered to ensure you enjoy a perfectly tender, flavorful dessert every time.
Ingredients Checklist
Before you begin, gather all your ingredients and equipment for a smooth baking experience. This checklist also includes flexible substitutions and extras.
-
Cake Layer:
-
1 box white or yellow cake mix (plus ingredients listed on the box: typically eggs, oil, water)
-
For homemade: substitute with your favorite scratch white or yellow cake recipe.
-
-
Pudding Layer:
-
1 box (3.4 oz) instant vanilla pudding mix
-
2 cups cold milk (whole, 2%, or dairy-free for lactose-free option)
-
For extra richness, use half-and-half or coconut milk.
-
-
Whipped Layer:
-
1 tub (8 oz) whipped topping, thawed (such as Cool Whip)
-
For homemade: use sweetened whipped cream stabilized with a little cream cheese or powdered sugar.
-
-
Cherry Topping:
-
1 can (21 oz) cherry pie filling (look for ones with whole cherries for best texture)
-
Alternatives: Use blueberry, strawberry, or mixed berry pie filling, or try a homemade fruit compote.
-
-
Optional Extras:
-
½ teaspoon almond extract (to boost the cake’s flavor)
-
Zest of 1 lemon (brightens the flavor, optional in pudding or whipped layer)
-
Sliced almonds or white chocolate curls (for garnish)
-
Fresh cherries (for finishing touch)
-

Essential Equipment:
-
9×13-inch baking pan
-
Stand mixer or hand mixer
-
Whisk and rubber spatula
-
Mixing bowls
-
Measuring cups and spoons
-
Wooden skewer or fork (for poking holes)
-
Refrigerator (for chilling)
Step-by-Step Instructions
For the best texture and flavor, pay attention to each detail in these instructions. This method ensures your cake is moist, flavorful, and visually stunning.
Start by preheating your oven to 350°F (175°C). Grease a 9×13-inch baking pan thoroughly.
1. Bake the Cake
Prepare the white or yellow cake mix according to package directions. For added depth, mix in ½ teaspoon almond extract to the batter. Spread the batter evenly in your prepared pan and bake until a toothpick comes out clean (usually 25–28 minutes). Let the cake cool for 15 minutes before moving to the next step.
2. Poke the Cake
With a wooden skewer or fork, poke holes all over the cake, spacing about ½ inch apart. Press down far enough to reach near the bottom of the cake, ensuring maximum absorption.

3. Prepare the Pudding
In a medium bowl, whisk together instant vanilla pudding mix and 2 cups cold milk until thickened but still pourable (about 2 minutes). For an extra touch, fold in lemon zest. Immediately pour the pudding over the cake, gently spreading it so it seeps into the holes and forms an even layer on top. Refrigerate for at least 1 hour to set.
4. Add the Whipped Topping
Once the pudding has set, spread the whipped topping evenly over the pudding layer. For a homemade touch, gently fold in a spoonful of cream cheese for added stability and tang.
5. Top with Cherries
Spoon the cherry pie filling over the whipped topping, spreading it gently to avoid disturbing the layers. For best results, ensure even distribution so every slice features a mix of fruit and cream.
6. Chill and Serve
Cover and refrigerate for at least 3–4 hours, or overnight if possible. This resting period allows the flavors to meld and the cake to become perfectly moist.
7. Garnish (Optional)
Right before serving, garnish with sliced almonds, white chocolate curls, or fresh cherries. For a special touch, dust with powdered sugar or add a few mint leaves.

Tips for Perfect Results
A few extra tips will help you avoid common issues and elevate your cake to bakery quality.
-
Room Temperature Ingredients: Ensure eggs and milk are at room temperature for a lighter, more even cake.
-
Don’t Overbake: Remove the cake from the oven as soon as a toothpick comes out clean to avoid a dry texture.
-
Poke While Warm: Poke the holes while the cake is still slightly warm so the pudding soaks in better.
-
Refrigerate for Best Texture: The longer the cake chills, the more luscious and cohesive the layers will become.
-
Use High-Quality Pie Filling: For the best flavor and appearance, use cherry pie filling with plenty of whole cherries, or make your own fruit topping.
-
Whipped Cream Stability: If using homemade whipped cream, stabilize it with a spoonful of cream cheese or a sprinkle of gelatin dissolved in water to prevent weeping.
Serving Suggestions
There are many ways to enjoy and present this dessert. Here’s how to impress at any occasion:
-
Slice and Serve Chilled: Cut into generous squares and serve straight from the fridge.
-
Elegant Plating: Add a dollop of extra whipped cream and a fresh cherry on top of each slice.
-
For Holidays: Sprinkle with green pistachios or gold sprinkles for a festive look.
-
For Brunch: Pair with coffee or tea and offer alongside fresh berries.
-
Party-Ready: Serve in individual cups or jars for easy, mess-free portions at potlucks.
-
Kids’ Treat: Layer in clear cups so children can see the cake, pudding, and cherries.
Final Thoughts
Cherries in the Snow Poke Cake Recipe is more than a retro favorite—it’s an easy, customizable, and visually stunning dessert that delivers comfort and celebration in every bite.
With step-by-step guidance, creative variations, and make-ahead convenience, this version fills every gap and elevates a simple poke cake into something truly memorable.
Whether you’re baking for family or a special occasion, you’ll love how effortlessly this cake comes together and how quickly it disappears. Enjoy the layers of flavor, and don’t be afraid to experiment with your own twists.

Sabrina Khan Tisha is the creative force behind Dessert Diary, a recipe blog celebrating desserts, cakes, cupcakes, muffins, and sweet treats. With a passion for baking, she shares simple, delicious recipes and tips to inspire home bakers everywhere.