Indulge in Delicious Chocolate Hazelnut Tart Recipe
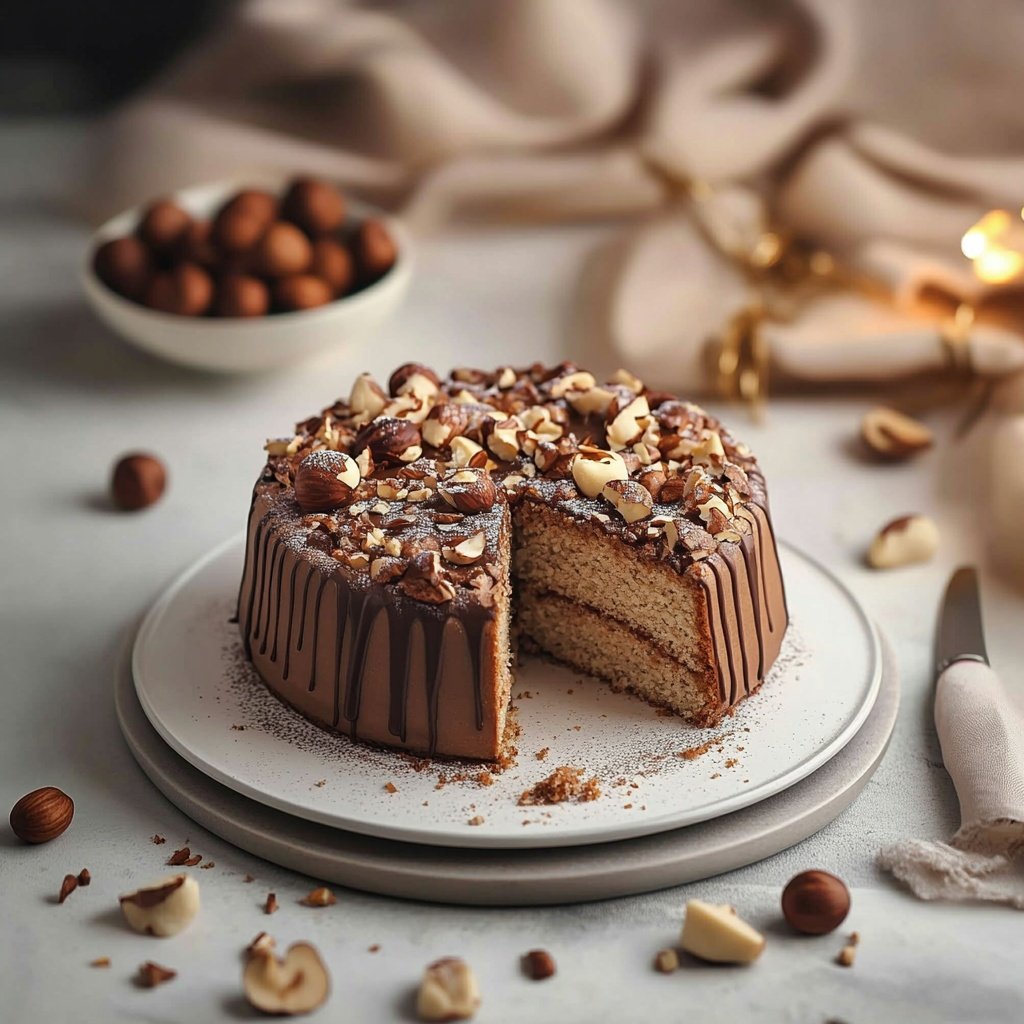
Chocolate and hazelnut are a classic pairing, but this tart recipe elevates the combination with a crisp, nutty crust and a silky, deeply flavored chocolate filling.
Unlike many desserts that sacrifice either convenience or taste, this tart strikes a perfect balance. Whether for special occasions or an impressive make-ahead treat, the detailed method below ensures every step is clear, practical, and foolproof.
The recipe includes ingredient science, troubleshooting advice, and ideas for adapting to dietary needs, so you can serve a stunning tart with confidence—every single time.
Ingredients Checklist
Here’s an organized checklist with details and pro tips for the best results. Gather these before you start to streamline the process.
Hazelnut Crust:
-
1 1/2 cups (180g) whole hazelnuts (raw or roasted)
-
1 cup (120g) all-purpose flour (or gluten-free flour blend, see notes)
-
1/2 cup (60g) powdered sugar
-
1/4 teaspoon fine sea salt
-
1/2 cup (113g) unsalted butter, cold and cubed
-
1 large egg yolk
-
1 teaspoon vanilla extract
Chocolate Hazelnut Filling:
-
1 cup (240ml) heavy cream
-
8 ounces (225g) high-quality bittersweet or dark chocolate, chopped (minimum 60% cocoa)
-
1/2 cup (120g) chocolate hazelnut spread (Nutella or similar)
-
1/4 teaspoon fine sea salt
-
1 teaspoon instant espresso powder (optional, enhances chocolate depth)

Garnish:
-
1/4 cup (30g) hazelnuts, toasted and coarsely chopped
-
Flaky sea salt (optional, for finishing)
-
Chocolate curls, cocoa nibs, or edible gold leaf (optional, for elegant presentation)
Special Equipment:
-
9-inch tart pan with removable bottom
-
Food processor
-
Baking weights or dried beans
-
Parchment paper
-
Offset spatula or the back of a spoon
Ingredient tips:
For best flavor, use freshly toasted hazelnuts and high-quality dark chocolate. If you need a gluten-free option, swap the all-purpose flour for a 1:1 gluten-free blend and check your chocolate hazelnut spread for hidden gluten.
Step-by-Step Instructions
With a little planning and patience, each component comes together beautifully. Follow these steps for a professional finish.
1. Toast the Hazelnuts
Place hazelnuts on a baking sheet and roast at 350°F (175°C) for 10–12 minutes, shaking halfway. Transfer to a kitchen towel and rub to remove most of the skins. Cool completely.
2. Make the Hazelnut Crust
-
In a food processor, pulse 1 1/4 cups toasted hazelnuts with flour, powdered sugar, and salt until the nuts are finely ground but not pasty.
-
Add cold butter cubes and pulse until the mixture resembles coarse sand.
-
Whisk egg yolk and vanilla together. Add to the food processor and pulse until the dough just begins to clump.
-
Tip: If the dough seems dry, add 1 teaspoon cold water at a time until it holds together when pinched.
-
Press the dough evenly into the base and up the sides of a 9-inch tart pan. Prick the base with a fork. Chill for at least 30 minutes (important for crisp texture and minimizing shrinkage).
3. Blind Bake the Crust
-
Preheat oven to 350°F (175°C).
-
Line the chilled crust with parchment and fill with baking weights or beans.
-
Bake 15 minutes, then remove weights and parchment. Bake another 10–12 minutes until golden brown and set.
-
Let the crust cool fully on a wire rack before filling.
4. Prepare the Chocolate Hazelnut Filling
-
In a small saucepan, heat the cream and espresso powder (if using) just until simmering. Do not boil.
-
Place chopped chocolate in a heatproof bowl. Pour hot cream over chocolate, cover, and let sit for 2 minutes.
-
Whisk until smooth. Add the chocolate hazelnut spread and salt; stir until glossy and fully incorporated.
-
Tip: If ganache looks oily or separates, add a tablespoon of warm cream and whisk gently to bring it back together.
5. Assemble the Tart
-
Pour the warm ganache into the cooled crust. Tap gently to smooth and release air bubbles. Use an offset spatula for an even surface.
-
Cool to room temperature, then chill at least 2 hours (or overnight) until fully set.
6. Garnish and Serve
-
Sprinkle with toasted chopped hazelnuts and a pinch of flaky sea salt for contrast.
-
Optional: Add chocolate curls or cocoa nibs for a beautiful finish.
-
Slice with a sharp, warmed knife for clean cuts.
Tips for Perfect Results
Take your tart from good to exceptional with these expert tips:
-
Ingredient quality matters: Use the best chocolate and fresh hazelnuts you can find for outstanding flavor.
-
Don’t rush the chilling: Both crust and filling need proper chilling to set up. This prevents sogginess and ensures clean slices.
-
No food processor? Finely chop hazelnuts by hand and rub butter into flour mixture using your fingertips for a rustic version.
-
Even crust: Use a flat-bottomed cup to press the dough evenly in the pan for professional edges.
-
Prevent soggy base: If your kitchen is humid, brush the baked crust with a little melted chocolate before filling. Let it set to create a moisture barrier.
Serving Suggestions
Add creativity to your presentation and enjoy this tart in new ways:
-
Classic: Serve chilled or at cool room temperature for the best texture.
-
Accompaniments: Add a dollop of softly whipped cream, crème fraîche, or a scoop of vanilla bean gelato.
-
Flavor pairings: Fresh raspberries, sliced strawberries, or poached pears balance the richness beautifully.
-
Festive: For holidays, top with candied orange peel, gold leaf, or a dusting of cocoa.
-
Mini tarts: Divide the recipe among mini tart pans for elegant individual servings.
Final Thoughts
A well-crafted chocolate hazelnut tart is more than the sum of its parts—each layer brings depth, crunch, and rich flavor.
With a clear, methodical approach, this recipe takes you from toasting hazelnuts to the final glossy finish, ensuring you avoid common mistakes and have room to personalize each element.
Keep this recipe as a go-to for celebrations, family gatherings, or anytime you crave a showstopping dessert. With proper storage, it stays fresh and delicious for days, ready to impress at every slice.

Sabrina Khan Tisha is the creative force behind Dessert Diary, a recipe blog celebrating desserts, cakes, cupcakes, muffins, and sweet treats. With a passion for baking, she shares simple, delicious recipes and tips to inspire home bakers everywhere.