Crazy Wacky Cake Recipe
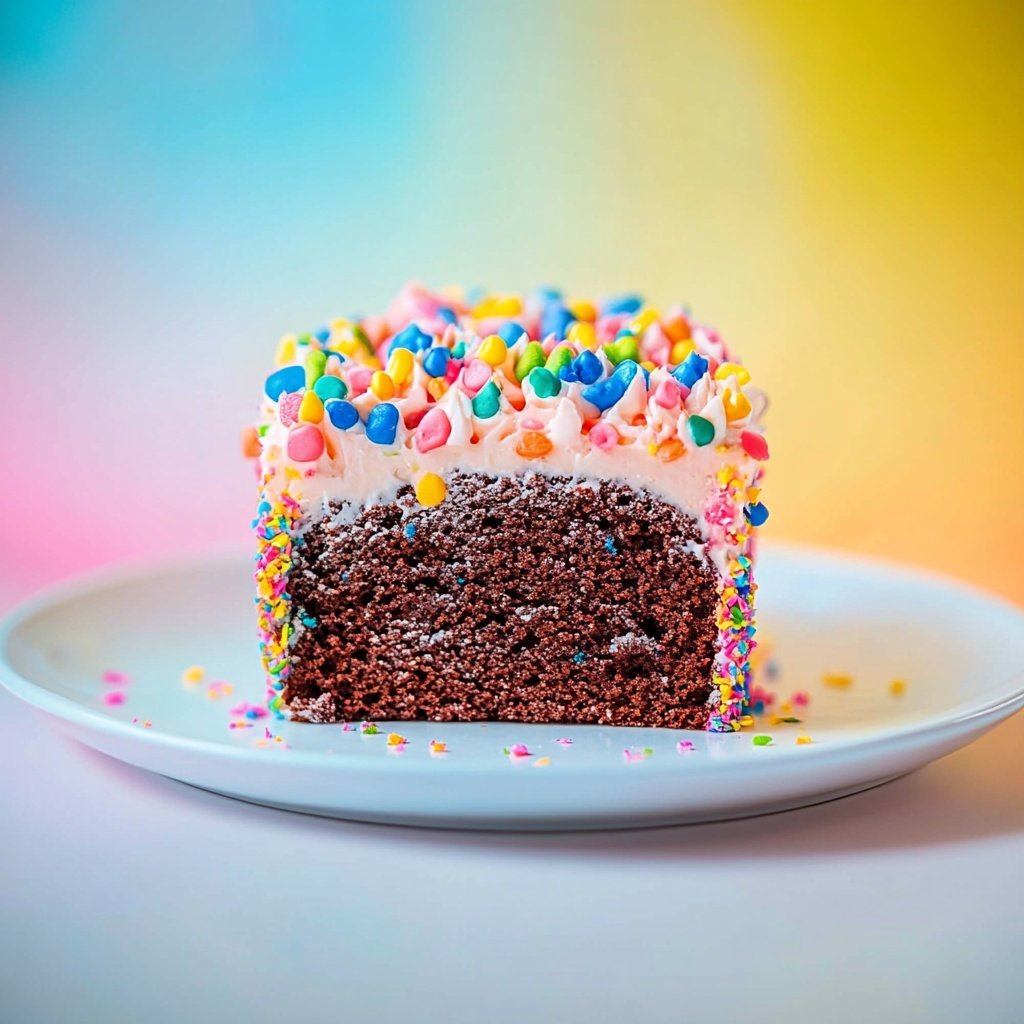
Crazy Wacky Cake Recipe is a true marvel of ingenuity, created during the Great Depression when eggs, butter, and milk were scarce.
Despite using only the humblest pantry ingredients, this cake bakes up beautifully moist and richly chocolatey—proving that necessity is the mother of delicious invention.
Today, this one-bowl, no-mixer cake is beloved not only for its history, but for its simplicity and adaptability. Whether you’re out of eggs, baking for someone with allergies, or just craving an easy, nostalgic treat, crazy wacky cake is always a hit.
Ingredients Checklist
Every ingredient plays a key role in this cake’s magic. Here’s your complete list, plus some simple swaps and optional mix-ins for a custom touch:
Dry Ingredients
-
1½ cups all-purpose flour
(Use a 1:1 gluten-free flour blend for a gluten-free cake) -
1 cup granulated sugar
(Coconut sugar or light brown sugar adds a hint of caramel flavor) -
¼ cup unsweetened cocoa powder
(Dutch-processed or natural cocoa works) -
1 teaspoon baking soda
(Leavening; reacts with vinegar for lift) -
½ teaspoon salt
Wet Ingredients
-
1 teaspoon white vinegar or apple cider vinegar
(Key for the chemical rise) -
1 teaspoon pure vanilla extract
(Adds warmth and flavor) -
5 tablespoons vegetable oil or canola oil
(Melted coconut oil also works) -
1 cup water
(Or cooled strong coffee for deeper chocolate flavor)
Optional Add-Ins
-
½ cup chocolate chips, chopped nuts, or shredded coconut
-
½ teaspoon espresso powder for a mocha twist
For Serving/Garnish
-
Powdered sugar, berries, or a drizzle of chocolate sauce
-
Your favorite frosting (chocolate, vanilla, or cream cheese)
Tools Needed
-
8×8-inch baking pan (metal or glass)
-
Large mixing bowl
-
Whisk or fork
-
Measuring cups and spoons
-
Sifter (optional, for a lump-free batter)
-
Rubber spatula
-
Cooling rack
-
Parchment paper (for easy removal, optional)
Step-by-Step Instructions
-
Prep the Pan and Oven
-
Preheat oven to 350°F (175°C).
-
Grease your 8×8-inch pan or line it with parchment for easy lifting.
-
-
Mix Dry Ingredients
-
In a large bowl (or directly in the pan for true Depression-era style), whisk together flour, sugar, cocoa powder, baking soda, and salt. If using, sift cocoa for best texture.
-
-
Create Wells for Wet Ingredients
-
Make three small wells in the dry mix. Pour vinegar in one, vanilla in the second, and oil in the third. This quirky step ensures even mixing!
-
-
Add Water and Combine
-
Pour water evenly over the mixture. Whisk or stir with a fork until no dry pockets remain and batter is smooth. Scrape down the sides and bottom as needed.
-
Gently fold in chocolate chips, nuts, or other add-ins at this stage.
-
-
Bake
-
Pour batter into your prepared pan (if you mixed in a bowl).
-
Bake for 30–35 minutes, or until a toothpick inserted in the center comes out clean or with a few moist crumbs.
-
-
Cool
-
Let cake cool in the pan for 10 minutes, then transfer to a wire rack. Cool completely before frosting or slicing.
-
Tips for Perfect Results
-
Measure accurately: Level off dry ingredients for best results.
-
Don’t overmix: Stir just until smooth to keep the cake tender.
-
Room temperature water helps sugar dissolve and batter blend more easily.
-
Check early: Ovens vary, so start testing 5 minutes before suggested time.
-
Cool before frosting: Warm cake will melt frosting or glaze.
Variations and Flavor Twists
-
Vanilla Crazy Cake: Omit cocoa powder, add 2 more tablespoons flour, and double the vanilla.
-
Spice Cake: Add 1 teaspoon cinnamon, ¼ teaspoon nutmeg, and ¼ teaspoon cloves.
-
Lemon or Orange: Add zest and a tablespoon of juice; swap vanilla for citrus extract.
-
Cupcakes: Fill lined muffin tins ⅔ full; bake 16–18 minutes (makes 10–12 cupcakes).
-
Sheet Pan Party: Double the recipe and bake in a 9×13-inch pan for a crowd.
Chocolate Frosting Recipe
Ingredients
-
½ cup unsalted butter, softened
-
⅔ cup unsweetened cocoa powder
-
3 cups powdered sugar
-
⅓ cup milk (dairy or plant-based)
-
1 teaspoon vanilla extract
-
Pinch of salt
Instructions
-
Beat butter until creamy. Gradually add cocoa powder, then powdered sugar, alternating with milk. Beat until fluffy.
-
Mix in vanilla and salt.
-
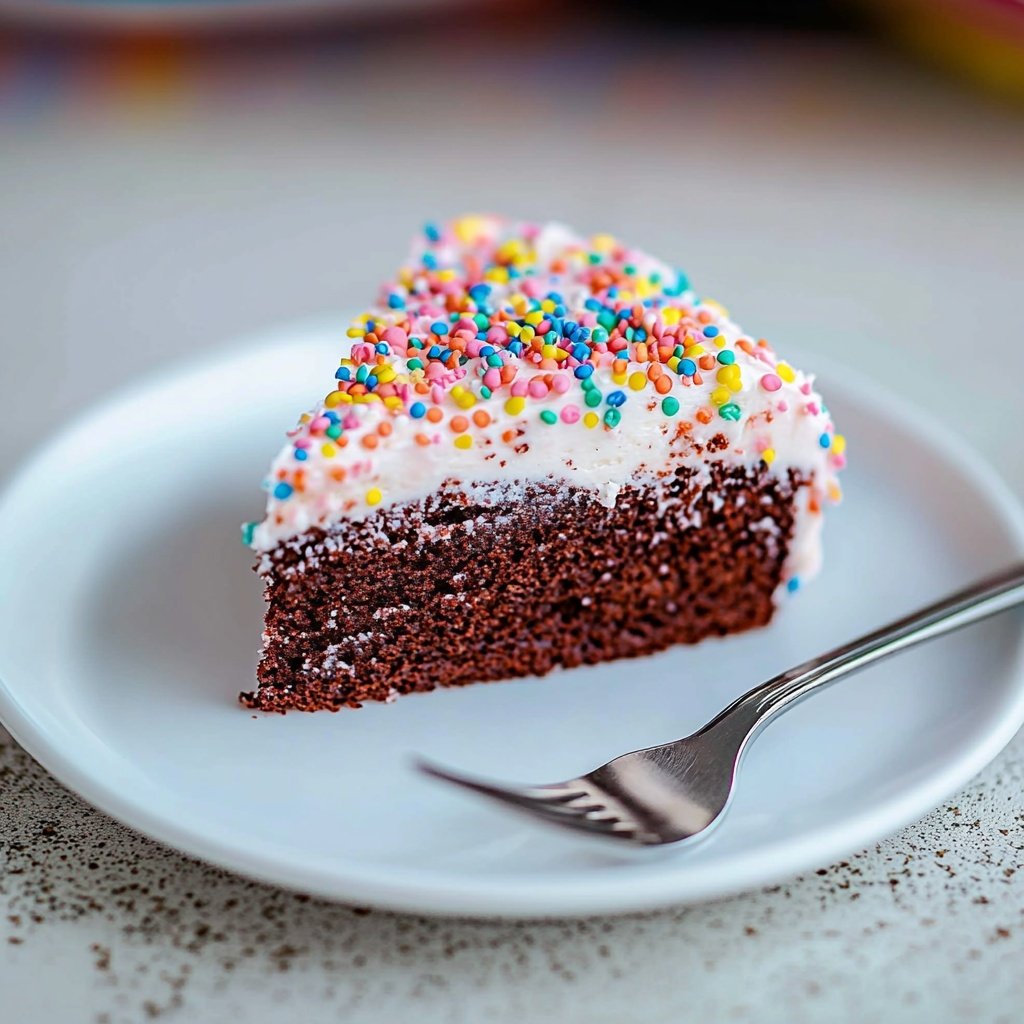
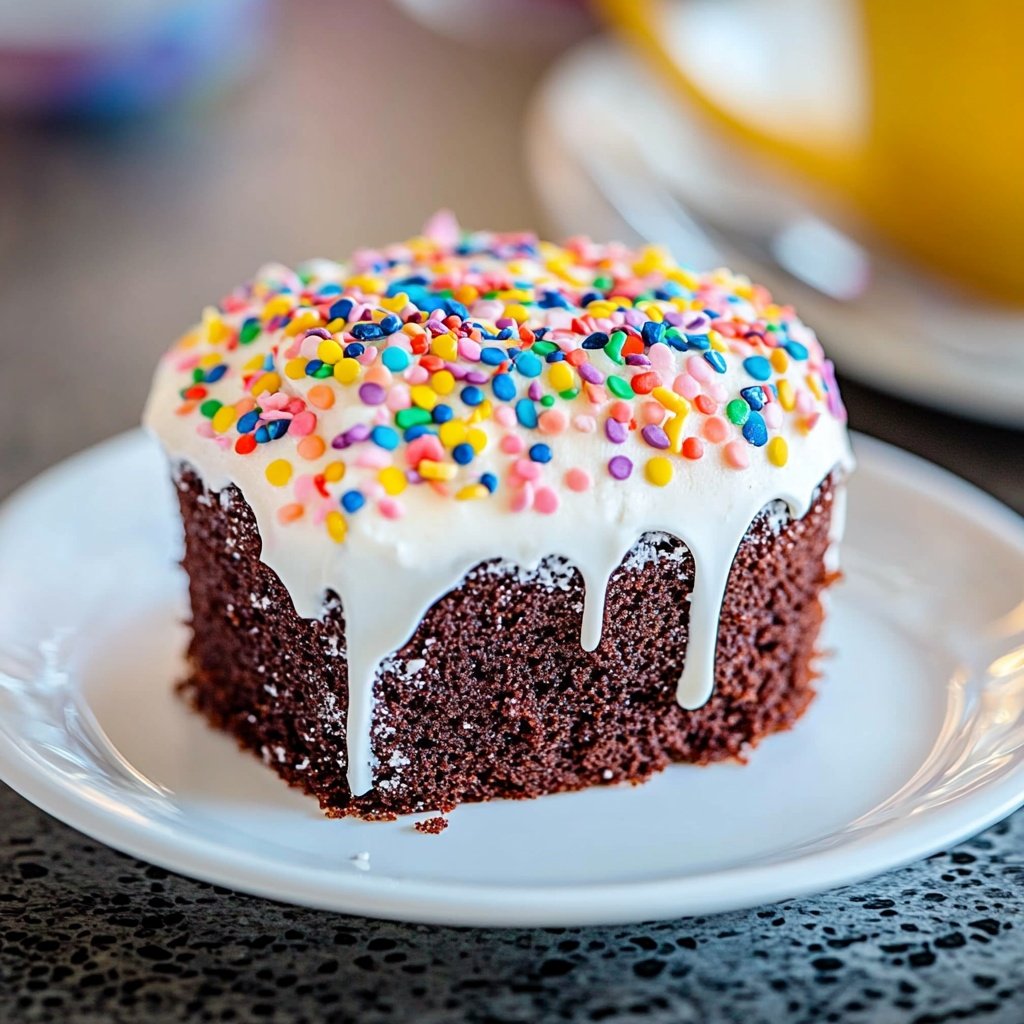
Spread over completely cooled cake. Add sprinkles, nuts, or chocolate shavings as desired.
Serving Suggestions
-
Classic: Sift powdered sugar over the top for a minimalist look.
-
Indulgent: Add a scoop of vanilla ice cream or a dollop of whipped cream.
-
Elegant: Garnish with fresh berries or a drizzle of caramel or ganache.
-
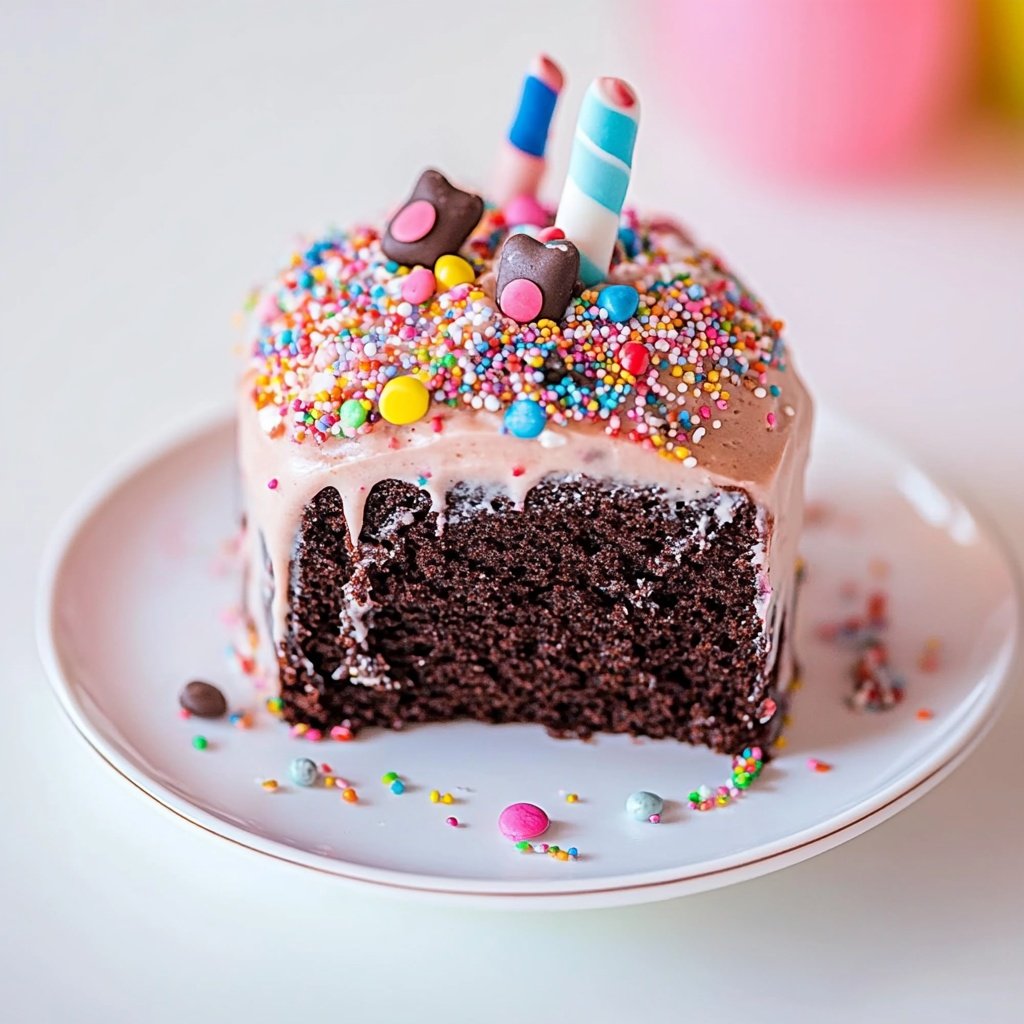
Kids’ Party: Top with colorful sprinkles or mini marshmallows.
Storage and Freezing
-
Room Temperature: Store cake (covered) for up to 3 days.
-
Refrigerator: Keeps up to 5–7 days; let slices come to room temperature for best texture.
-
Freezer: Wrap slices individually and freeze up to 2 months. Thaw at room temp or in the fridge overnight.
Troubleshooting and FAQs
-
Why did my cake sink?
Check that your baking soda is fresh and don’t overmix the batter. -
Why is my cake dense?
Overmixing or too much flour can make the cake heavy. Always spoon and level your flour. -
How can I make it gluten-free?
Use a 1:1 gluten-free flour blend designed for baking. -
Can I use a different oil?
Any neutral-flavored oil works; melted coconut oil is a great plant-based choice.
Final Thoughts
Crazy Wacky Cake proves you don’t need fancy ingredients to create a dessert that’s rich, moist, and utterly satisfying. Born out of creative necessity, this classic has become a staple for generations of bakers—and for good reason!
Its simplicity, adaptability, and allergy-friendly ingredients make it perfect for any occasion, whether it’s a quick weekday treat or a celebration centerpiece.
Try different flavors, frostings, and toppings to make it your own, and enjoy sharing a bit of history—one delicious bite at a time.

Sabrina Khan Tisha is the creative force behind Dessert Diary, a recipe blog celebrating desserts, cakes, cupcakes, muffins, and sweet treats. With a passion for baking, she shares simple, delicious recipes and tips to inspire home bakers everywhere.