Delicious Espresso Cheesecake Recipe
If you’re looking for a showstopping dessert that blends deep coffee notes with the decadence of chocolate, the Espresso Cheesecake Recipe is your answer.
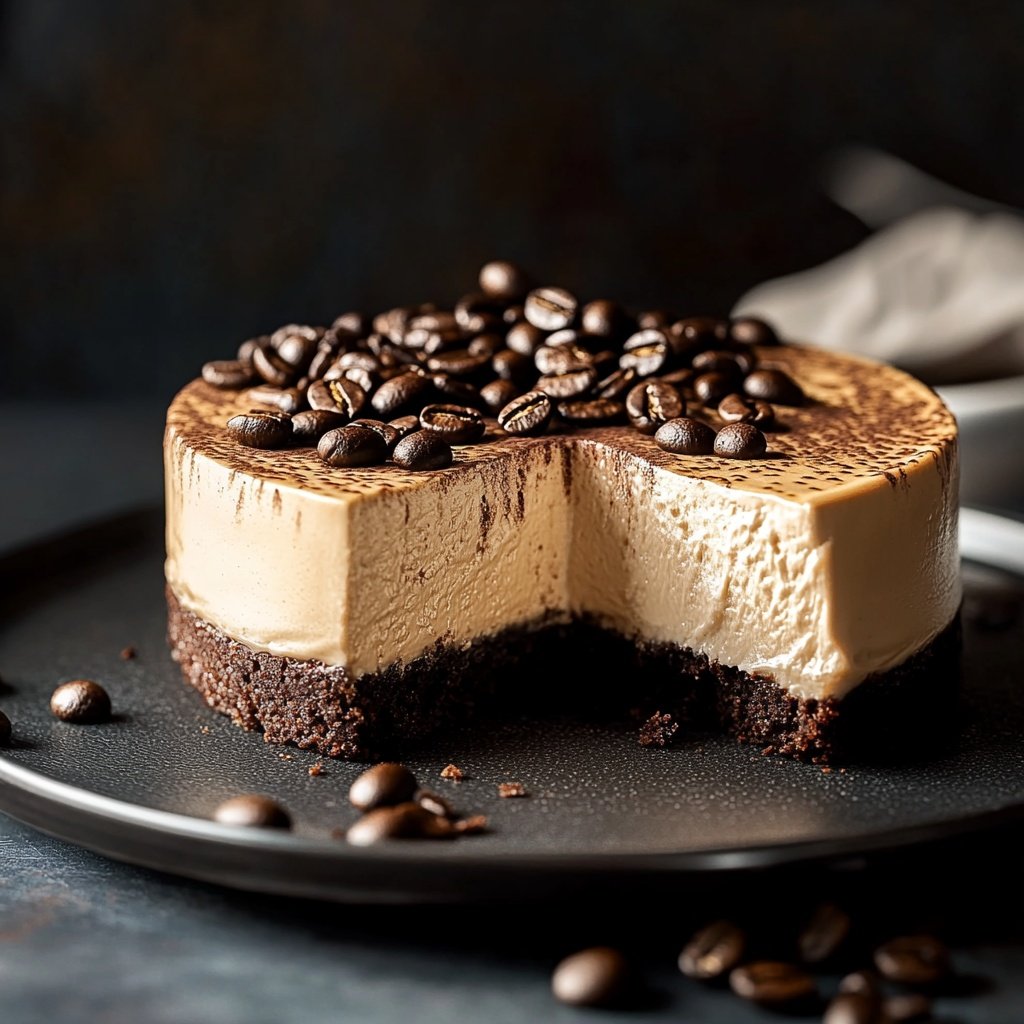
This recipe creates a creamy, rich cheesecake on a crisp Oreo crust, highlighted with a bold espresso kick and finished with a silky chocolate ganache.
Best of all, you’ll get pro-level results with straightforward steps, detailed troubleshooting tips, and creative options for all dietary needs.
Whether you’re an avid baker or a coffee lover with a sweet tooth, this dessert is guaranteed to impress and satisfy at any occasion.
Ingredients Checklist
Elevate your cheesecake with these essential components and smart substitutions for any dietary preference. Each ingredient is chosen to balance texture, flavor, and ease of preparation.
For the Crust
-
2 cups Oreo cookie crumbs (about 22–24 cookies, cream removed)
Classic chocolate base; gluten-free sandwich cookies work too -
4 tablespoons (56g) unsalted butter, melted
Helps bind and flavor the crust
For the Espresso Cheesecake Filling
-
3 packages (8 oz/225g each) full-fat cream cheese, room temperature
Gives the filling its signature creamy texture -
1 cup granulated sugar
Sweetens and stabilizes the batter -
1 teaspoon pure vanilla extract
Enhances both chocolate and coffee notes -
⅓ cup brewed espresso or strong coffee, cooled
For robust flavor—use decaf if sensitive to caffeine -
3 large eggs, room temperature
Acts as a binder for a smooth, custardy result -
2 tablespoons sour cream or Greek yogurt (optional)
Adds extra creaminess and tang -
1 tablespoon instant espresso powder (optional, for stronger flavor)
Intensifies the coffee punch without more liquid

For the Chocolate Ganache
-
1 cup (170g) semi-sweet or dark chocolate chips
Select your favorite for a custom finish -
½ cup (120ml) heavy cream
Creates a glossy, rich topping
Garnishes & Add-Ins (Optional)
-
Crushed or whole espresso beans
Adds crunch and visual appeal -
Unsweetened cocoa powder
A sophisticated dusting before serving -
Fresh whipped cream or mascarpone
Balances richness with lightness -
Chocolate curls or shavings
For an elegant touch
Tools Needed
-
9-inch springform pan
Essential for easy unmolding and neat slices -
Food processor or rolling pin
For making Oreo crumbs -
Stand or hand mixer
Ensures the smoothest filling -
Mixing bowls, spatula, measuring cups
For precision and easy cleanup -
Roasting pan (for the water bath)
Prevents cracks in cheesecake -
Parchment paper (optional)
For easy release from the pan

Step-by-Step Instructions
With a little planning and these thorough steps, you’ll achieve a bakery-worthy espresso cheesecake at home. Take note of texture cues and chef’s tips for stress-free success.
1. Prepare the Pan and Crust (10 min + cooling time)
-
Preheat oven to 350°F (175°C).
-
Line the bottom of a 9-inch springform pan with parchment paper (optional for cleaner slices).
-
Use a food processor to pulse Oreos into fine crumbs. If you don’t have a processor, place cookies in a zip-top bag and crush with a rolling pin.
-
Mix Oreo crumbs with melted butter until mixture resembles wet sand.
-
Firmly press the mixture into the bottom (and slightly up the sides) of the pan using the bottom of a glass or measuring cup.
-
Bake for 10 minutes. Let cool completely on a rack while you prepare the filling. Reduce oven temperature to 325°F (160°C).
2. Make the Cheesecake Filling (15 min)
-
In a large bowl, beat cream cheese with a mixer on medium speed until completely smooth and creamy, scraping down the bowl as needed.
-
Add sugar and vanilla; beat until just combined.
-
Mix in brewed espresso (and instant espresso powder if using) until fully blended.
-
Add eggs one at a time, mixing on low just until each egg disappears (overmixing introduces air and can cause cracks).
-
Fold in sour cream or Greek yogurt for a silkier, richer filling (optional but recommended).
-
Pour the filling onto the cooled crust, smoothing the top.

3. Bake the Cheesecake (65–80 min + cooling)
-
Wrap the outside of the springform pan with aluminum foil to prevent leaks.
-
Place pan in a large roasting pan and fill with hot water to come halfway up the sides of the springform pan (water bath).
-
Bake at 325°F (160°C) for 65–80 minutes. The center should be slightly jiggly, but the edges set.
-
Turn off oven, crack the door open, and let cheesecake cool inside for 1 hour (gradual cooling prevents cracks).
4. Cool and Chill (4–24 hours)
-
Remove cheesecake from oven and water bath. Run a thin knife around the edge to loosen.
-
Cool to room temperature, then cover and refrigerate at least 4 hours or overnight for best flavor and texture.
5. Make the Chocolate Ganache (10 min)
-
Heat heavy cream in a small saucepan just until it begins to simmer.
-
Place chocolate chips in a heatproof bowl. Pour hot cream over chocolate and let sit 1–2 minutes.
-
Stir gently until chocolate is completely melted and smooth.
-
Allow ganache to cool slightly until thickened but still pourable.
-
Pour ganache over chilled cheesecake, spreading evenly with an offset spatula.
6. Decorate and Serve
-
Garnish with whole or crushed espresso beans, a dusting of cocoa, and whipped cream if desired.
-
For clean slices, dip a sharp knife in hot water and wipe between cuts.
Tips for Perfect Results
Even a first-time baker can master this recipe with these helpful tips and troubleshooting solutions.
-
Use room temperature ingredients:
Cream cheese, eggs, and sour cream should be at room temp to avoid lumps. -
Avoid overmixing:
Too much air in the batter causes cracks and a dry texture. -
Water bath is key:
Keeps the cheesecake moist and prevents cracking by regulating oven temperature. -
Chill thoroughly:
Refrigerate at least 4 hours for the best structure and flavor; overnight is ideal. -
Intensify the flavor:
Add instant espresso powder to the filling for a stronger coffee hit without changing the texture. -
Customizable base:
Use gluten-free cookies, swap Oreos for chocolate graham crackers, or try a nut crust for a different twist. -
Make-ahead:
Cheesecake is an excellent dessert to prepare up to two days in advance. -
Freeze like a pro:
For longer storage, freeze whole or sliced cheesecake without ganache. Add toppings after thawing.
Serving Suggestions
Impress guests and elevate your espresso cheesecake with these inspired serving ideas.
-
Elegant plating:
Dust each slice lightly with unsweetened cocoa powder or instant espresso powder. -
Classic pairing:
Serve with a freshly pulled shot of espresso, strong coffee, or even affogato-style with a scoop of vanilla gelato. -
Seasonal twist:
Top with chocolate-covered espresso beans, caramel drizzle, or fresh berries for added flair. -
Individual servings:
Make in mini springform pans or muffin tins for party-ready, single-serve desserts. -
Dessert board:
Pair slices with biscotti, chocolate truffles, or almond cookies for a coffeehouse-inspired dessert spread.
Final Thoughts
Espresso Cheesecake offers the ultimate fusion of coffeehouse flavors and classic dessert elegance. With its rich, creamy texture, bold espresso notes, and decadent ganache topping, this recipe is sure to become a favorite for coffee and chocolate fans alike.
The clear step-by-step process and comprehensive tips make it foolproof, even for beginners. Experiment with add-ins, try different toppings, or create a make-ahead masterpiece for your next celebration.
With this detailed guide, your espresso cheesecake will be the star of any gathering—irresistible, sophisticated, and memorable every time.

Sabrina Khan Tisha is the creative force behind Dessert Diary, a recipe blog celebrating desserts, cakes, cupcakes, muffins, and sweet treats. With a passion for baking, she shares simple, delicious recipes and tips to inspire home bakers everywhere.