Flower Basket Cake Recipe
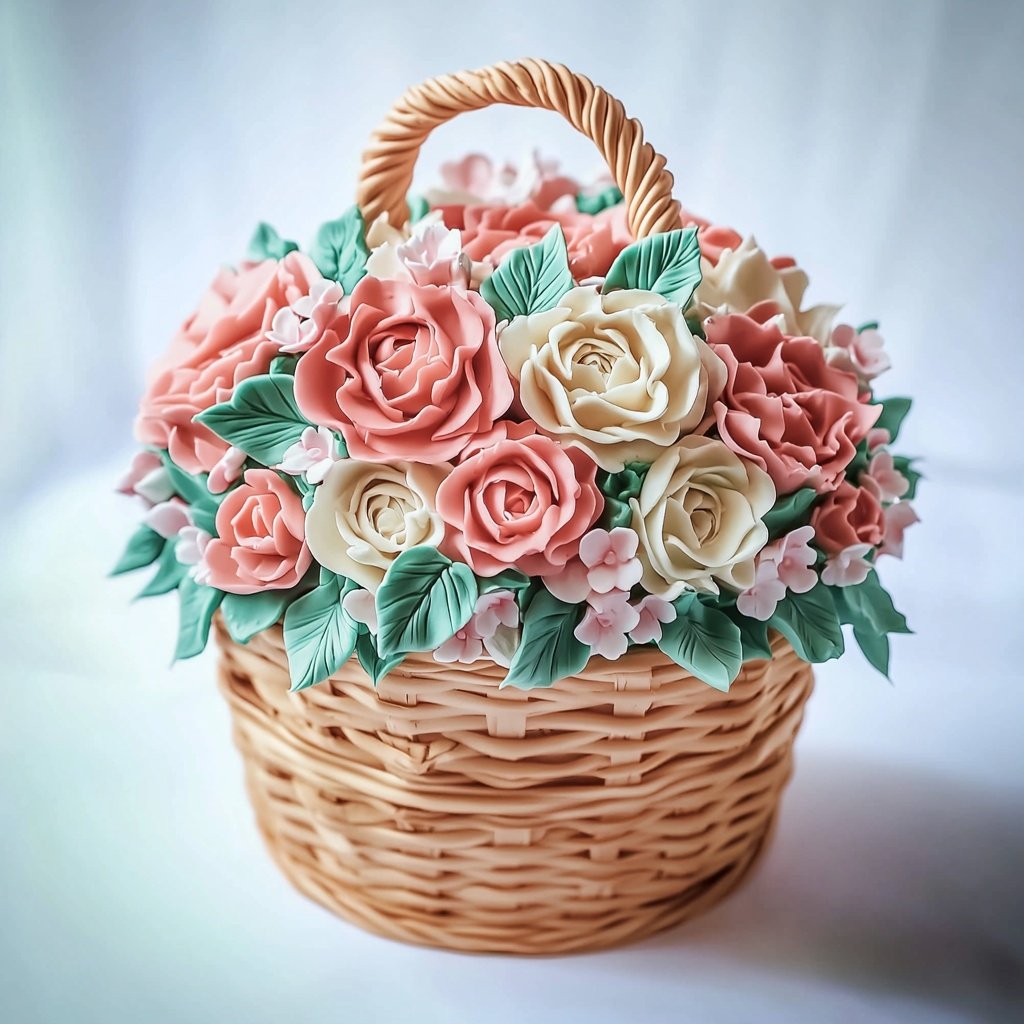
Few cakes make a statement quite like the Flower Basket Cake—a stunning combination of classic design and mouthwatering flavor.
With a signature basketweave finish, a medley of vibrant buttercream flowers, and rich layers of moist chocolate cake, this showpiece is ideal for birthdays, bridal showers, Mother’s Day, or any celebration.
The artistry of piping transforms this cake into an edible centerpiece, while its taste ensures it’s not just for looks.
Whether you’re a budding cake artist or a home baker ready to challenge yourself, this detailed guide covers every step, from baking to assembly, decorating, and even expert storage tips.
Ingredients Checklist
A successful Flower Basket Cake starts with quality ingredients. Gather everything before you begin for seamless baking and decorating.
For the Chocolate Cake:
-
2½ cups all-purpose flour
-
2½ tsp baking powder
-
1 tsp baking soda
-
¾ cup unsweetened cocoa powder
-
1 tsp salt
-
2 cups granulated sugar
-
4 large eggs, room temperature
-
1 cup buttermilk, room temperature
-
1 cup vegetable oil
-
2 tsp vanilla extract
-
1 cup hot water or hot coffee (intensifies chocolate flavor)
For the Buttercream Frosting:
-
2 cups (4 sticks) unsalted butter, softened
-
7–8 cups confectioners’ sugar, sifted
-
½ cup heavy cream or milk (adjust for consistency)
-
1 tbsp vanilla extract
-
Pinch of salt
-
Food coloring gel (variety of colors for flowers, green for leaves, brown for basket)
-
Optional: ½ cup cream cheese, softened (for a tangier buttercream)
For Decoration & Assembly:
-
Piping gel or edible glue
-
Mini marshmallows (for extra 3D flower centers or accents)
-
Edible glitter, gold/silver nonpareils, or colored sugars
-
Sprigs of fresh herbs (like mint) for realistic foliage (optional)
Tools Needed:
-
2 or 3 (8-inch) round cake pans
-
Stand mixer or electric hand mixer
-
Parchment paper
-
Cooling racks
-
Serrated knife for leveling
-
Cake turntable
-
Offset spatula and bench scraper
-
Multiple piping bags
-
Basketweave piping tip (Wilton #47 or #48)
-
Leaf tip (Wilton #352)
-
Flower/petal tips (Wilton #104, #81, #123, #2D, #1M)
-
Small round tip (Wilton #2 or #3 for flower centers)
-
Flower nail and parchment squares (for making buttercream flowers)
-
Cake board or serving platter
Step-by-Step Instructions
This project is as much about the process as the final product. Take your time, and enjoy each stage!
1. Bake the Cake Layers
-
Preheat the oven to 350°F (175°C). Grease and line the bottoms of your cake pans with parchment.
-
Mix dry ingredients: In a large bowl, sift together flour, cocoa powder, baking powder, baking soda, and salt.
-
Mix wet ingredients: In a stand mixer, beat eggs and sugar until light and fluffy. Add oil, buttermilk, and vanilla; mix well.
-
Combine: Gradually add dry ingredients to wet, alternating with hot water or coffee. Mix until just combined—do not overmix.
-
Bake: Divide the batter evenly among pans. Bake for 25–30 minutes or until a toothpick comes out clean. Cool in pans for 10 minutes, then transfer to wire racks.
Pro Tip: For an extra moist cake, brush cooled layers with simple syrup before assembly.
2. Make the Buttercream
-
Beat butter (and cream cheese if using) until pale and creamy.
-
Gradually add sifted confectioners’ sugar, mixing on low to start.
-
Add vanilla, salt, and cream. Beat on high for 2–3 minutes until light and fluffy.
-
Divide into bowls and tint with gel food coloring as desired. Cover with plastic wrap to prevent drying.
Pro Tip: Use gel colors for vibrant hues without watering down your buttercream.
3. Prep the Cake for Decorating
-
Level cakes with a serrated knife for flat layers.
-
Stack: Place the first cake layer on a cake board or serving platter. Spread a layer of buttercream; repeat with all layers.
-
Crumb coat: Apply a thin layer of buttercream to seal crumbs. Chill for 20 minutes.
-
Final coat: Frost the cake smoothly with an offset spatula.
4. Create the Basketweave
-
Fit a piping bag with a basketweave tip and fill with brown-tinted buttercream.
-
Starting at the base, pipe a vertical strip from bottom to top.
-
Pipe short horizontal lines across the strip, leaving space between each.
-
Add the next vertical strip over the edges of the horizontal lines, alternating the pattern to mimic a woven basket.
-
Continue around the cake. Pipe a “rope” border at the top edge if desired.
Pro Tip: Practice on parchment first, or watch a quick basketweave tutorial to get comfortable.
5. Pipe Buttercream Flowers
-
Fill piping bags with colored buttercream and fit with various petal and leaf tips.
-
Use a flower nail and parchment square to pipe flowers (roses, tulips, daisies, etc.). Freeze for 10 minutes for easy placement.
-
Arrange flowers atop the cake in clusters, using a dab of buttercream to secure. Fill gaps with piped leaves and small blossoms.
Pro Tip: Vary flower size, shape, and color for a realistic “bouquet” effect.
Tips for Perfect Results
-
Temperature matters: Use room temperature ingredients for both cake and buttercream.
-
Sturdy structure: If stacking multiple layers, use dowels or bubble tea straws for stability.
-
Smooth finish: Chill the cake before applying the basketweave for crisp lines.
-
Make ahead: Both cake layers and buttercream can be made 1–2 days in advance; store layers tightly wrapped and buttercream covered in the fridge.
-
Practice piping: If new to piping, practice your basketweave and flowers on a sheet of parchment before working on your cake.
Serving Suggestions
-
Special occasions: The perfect centerpiece for birthdays, bridal showers, or spring gatherings.
-
Personalized gift: Pipe a message plaque with chocolate or fondant for a heartfelt touch.
-
Pairings: Serve slices with fresh berries, coffee, or a floral tea to complement the cake’s beauty.
Storage and Make-Ahead Tips
-
Short term: Store the finished cake in a cake box or dome in the refrigerator for up to 3 days. Bring to room temperature before serving for best texture.
-
Freezing: Cake layers (unfrosted) freeze well for up to 2 months; thaw completely before decorating.
-
Transport: Use a sturdy cake board and keep the cake well chilled for safe travel.
Final Thoughts
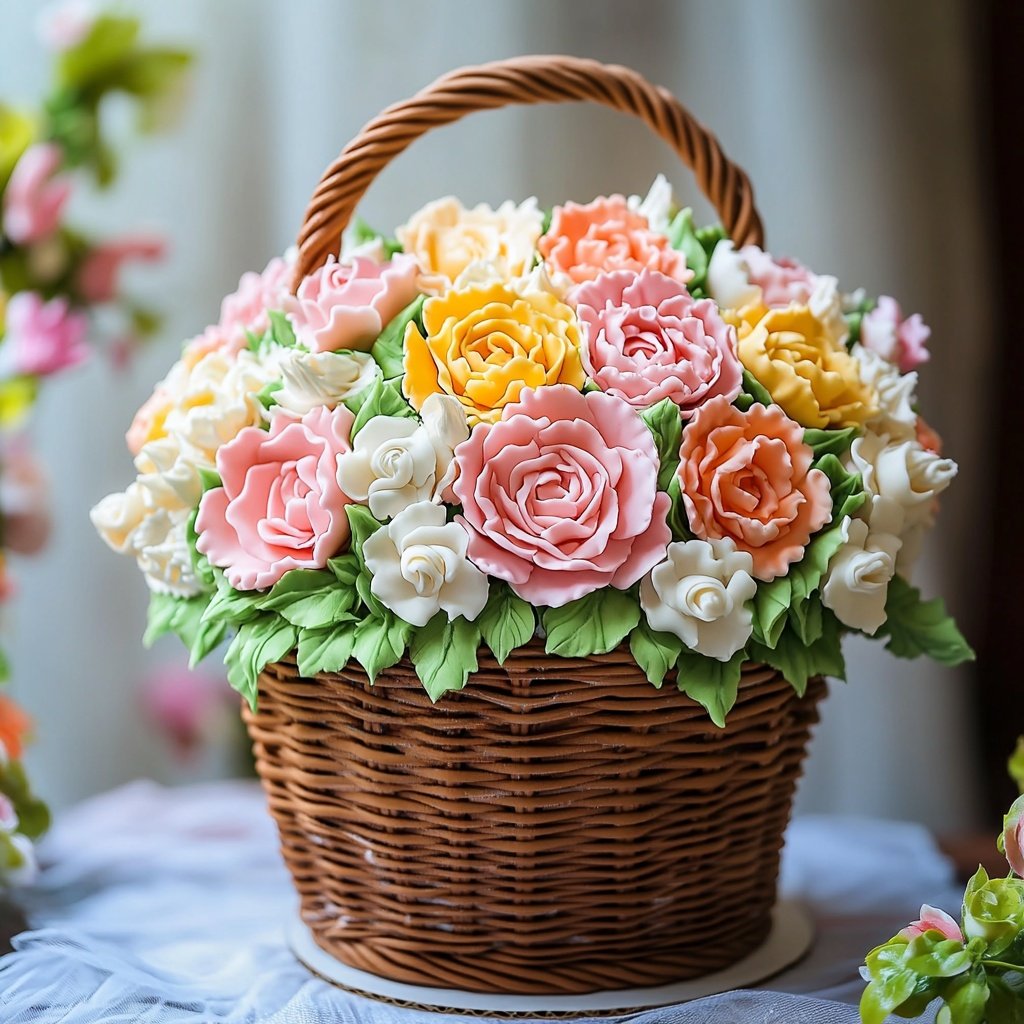
The Flower Basket Cake is a true celebration of flavor and artistry. With moist chocolate layers and a vibrant display of piped flowers, it brings together classic technique and modern style.
By following this step-by-step guide, even beginner decorators can achieve stunning results—making memories as you create, decorate, and share this edible masterpiece. Don’t forget to snap a photo before slicing—this is a cake you’ll want to remember!

Sabrina Khan Tisha is the creative force behind Dessert Diary, a recipe blog celebrating desserts, cakes, cupcakes, muffins, and sweet treats. With a passion for baking, she shares simple, delicious recipes and tips to inspire home bakers everywhere.