Japanese Strawberry Sponge Cake Recipe

Japanese Strawberry Sponge Cake—affectionately called “strawberry shortcake” in Japan—is a symbol of celebration, elegance, and simplicity.
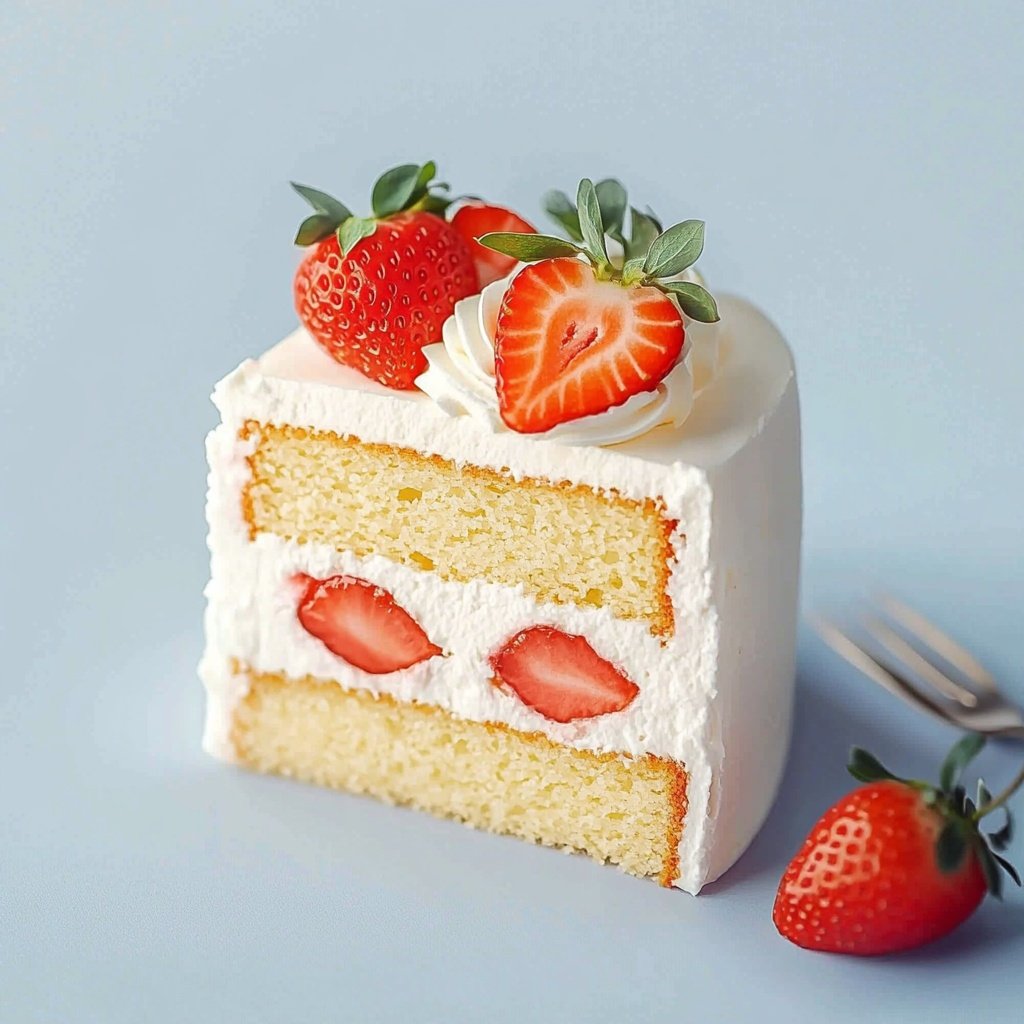
With its ethereal sponge layers, pillowy whipped cream, and juicy fresh strawberries, it’s no wonder this cake is a beloved centerpiece for birthdays, holidays, and special occasions throughout Japan.
Unlike Western shortcake, the Japanese version is famous for its melt-in-the-mouth texture, balanced sweetness, and refined appearance.
Whether you’re a baking enthusiast or a first-timer, this recipe will help you create an unforgettable cake that brings a taste of Tokyo patisseries right into your kitchen.
Ingredients Checklist
Preparation is key to achieving the perfect Japanese strawberry shortcake. Gather your ingredients and prep tools before you start for a stress-free baking experience.
For the Sponge Cake:
-
5 large eggs, at room temperature (separate yolks and whites)
-
½ cup (100g) granulated sugar, divided
-
⅔ cup (80g) cake flour, sifted (all-purpose flour can be used but will yield a firmer texture)
-
2 tablespoons (28g) unsalted butter, melted and cooled
-
1 teaspoon pure vanilla extract
-
⅛ teaspoon fine salt
-
1 tablespoon milk (for extra moistness, optional)
For the Simple Syrup:
-
¼ cup water
-
¼ cup granulated sugar
For the Whipped Cream:
-
1½ cups (360ml) heavy whipping cream, well-chilled
-
3 tablespoons (22g) powdered sugar, sifted
-
1 teaspoon vanilla extract
For the Filling and Decoration:
-
1½ cups fresh strawberries, washed, hulled, and sliced
-
6–8 whole strawberries, for decorating (pat dry for best results)
Optional Enhancements:
-
1 tablespoon strawberry liqueur or Kirsch (add to syrup for flavor depth)
-
2 teaspoons gelatin (for stabilized whipped cream in hot climates)
Step-by-Step Instructions
Careful technique is crucial for the delicate sponge and luscious whipped cream. Follow these steps for the best results.
1. Make the Sponge Cake
-
Prep:
Preheat oven to 320°F (160°C). Line the bottom and sides of an 8-inch (20cm) round cake pan with parchment. Do not grease the sides to help the cake climb. -
Separate Eggs:
Place yolks and whites in separate large bowls. Ensure the whites are free of yolk and the bowl is grease-free. -
Beat Yolks:
Add half the sugar to yolks. Beat with a mixer on high until pale and thick (ribbon stage). Beat in vanilla. -
Whip Whites:
Add salt to whites. Whisk until foamy, then gradually add remaining sugar and beat to stiff, glossy peaks. -
Fold Yolks Into Whites:
Gently fold yolk mixture into whites using a spatula, taking care not to deflate. -
Add Dry Ingredients:
Sift flour over the mixture in two batches, folding carefully until just combined. -
Finish Batter:
Pour melted, cooled butter around the edge of the bowl and gently fold in, along with milk if using, until the batter is uniform and smooth. -
Bake:
Pour batter into prepared pan. Tap pan gently to release air bubbles. Bake for 25–30 minutes, or until golden and a toothpick inserted in the center comes out clean. -
Cool:
Let cool in pan for 10 minutes, then remove from pan and cool completely on a wire rack.

2. Make the Simple Syrup
-
Combine water and sugar in a small saucepan. Heat over low until sugar dissolves.
-
Cool to room temperature. Stir in liqueur if desired.
3. Prepare the Whipped Cream
-
In a cold bowl, beat cream with powdered sugar and vanilla on medium speed until medium-firm peaks form.
-
Optional (for summer): Dissolve gelatin in 1 tablespoon hot water, cool slightly, and add to cream before whipping for extra stability.
4. Assemble the Cake
-
Slice the Sponge:
Use a serrated knife to slice the completely cooled sponge horizontally into two (or three, for a taller cake) even layers. -
Brush With Syrup:
Generously brush the cut side of each layer with simple syrup to keep it moist. -
Layer Cream and Strawberries:
Spread a thick layer of whipped cream over the first layer. Arrange sliced strawberries evenly over the cream. -
Top and Frost:
Place the second sponge layer on top. Frost the entire cake with a thin “crumb coat” of whipped cream, then finish with a thick, smooth final coat. -
Decorate:
Arrange whole strawberries and extra cream rosettes on top. For a patisserie look, pipe whipped cream around the top edge or bottom. -
Chill:
Refrigerate at least 1 hour before slicing. Chilling allows flavors to meld and the cream to set, making for clean slices.
Tips for Perfect Results
A few key techniques will help you achieve a cloud-like sponge and flawless finish:
-
Use Cake Flour:
Cake flour ensures a softer, lighter texture than all-purpose flour. -
Beat Eggs Properly:
Whip egg whites to stiff peaks, but don’t overbeat or they’ll become dry and hard to incorporate. -
Gentle Folding:
Use a gentle, upward folding motion—never stir or the batter will deflate. -
Don’t Overbake:
Sponge should be pale golden and springy; overbaking will dry it out. -
Chill Bowls and Cream:
For the best whipped cream, keep everything cold and avoid overwhipping (it should be smooth, not grainy). -
Dry Strawberries Well:
Pat strawberries dry with paper towels to prevent the cream from becoming watery.
Troubleshooting:
-
Cake didn’t rise: Eggs not beaten enough or batter overmixed.
-
Dry cake: Overbaked or not enough syrup used.
-
Soggy: Strawberries too wet or too much syrup.
-
Runny cream: Overbeaten or not chilled.
Serving Suggestions
Presentation and pairings elevate this elegant cake to dessert perfection:
-
Serve Chilled:
Japanese strawberry sponge cake is best served lightly chilled, with each slice showing off the layers. -
Decorate With Extra Berries:
Scatter sliced strawberries around the base for color and freshness. -
Add a Mint Sprig:
A few leaves add a pop of color and freshness. -
Pair With:
Japanese green tea, milk tea, or a lightly sweetened fruit tea for a traditional finish.
A flute of sparkling wine or Moscato also complements the cake beautifully. -
Individual Cakes:
Use a round cutter to create mini versions for elegant single servings.
Final Thoughts
Japanese Strawberry Sponge Cake is a celebration of lightness, freshness, and elegant simplicity. With a little attention to technique and quality ingredients, you’ll produce a cake that’s every bit as delightful as those found in Tokyo’s famed patisseries.
Perfect for special occasions or whenever you crave a refined dessert, this shortcake is guaranteed to impress both family and friends. Enjoy the artistry—and flavor—of Japanese baking, one cloud-like slice at a time.

Sabrina Khan Tisha is the creative force behind Dessert Diary, a recipe blog celebrating desserts, cakes, cupcakes, muffins, and sweet treats. With a passion for baking, she shares simple, delicious recipes and tips to inspire home bakers everywhere.