No Bake Blueberry Cheesecake Bars
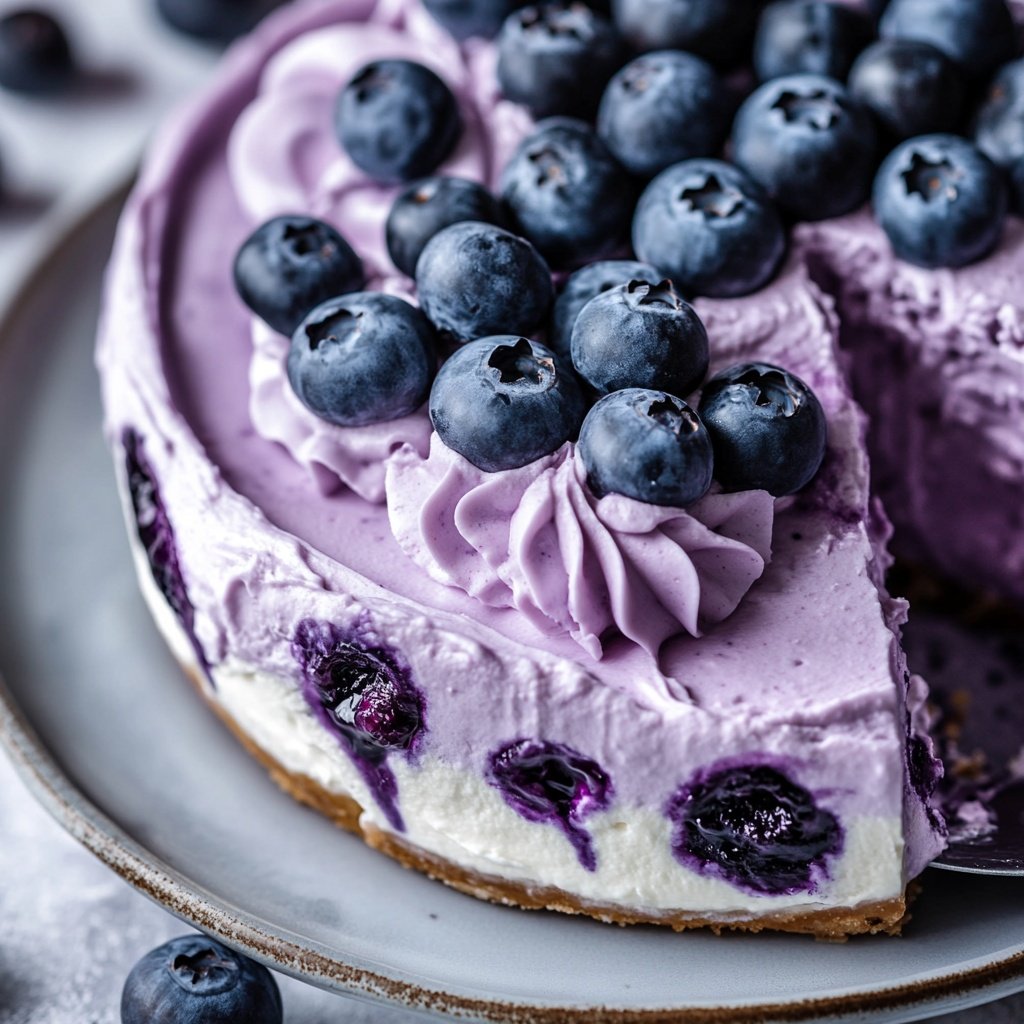
Skip the oven and enjoy a slice of pure summer with these No Bake Blueberry Cheesecake Bars. Bursting with creamy layers, vibrant wild blueberry flavor, and a chocolate cookie crust, these bars make dessert both easy and spectacular.
They’re the perfect choice for hot days, special events, or a sweet reward after a long week. With striking layers and a silky, tangy filling, they’re as impressive as they are simple to make—no advanced baking skills required.
Ingredients Checklist
Start with high-quality ingredients for the best flavor and texture. Here’s what you’ll need, plus some substitution options for different tastes or dietary needs.
For the Crust
-
100 g (1 cup) Oreo cookie crumbs or 12 whole Oreo cookies, finely crushed
-
60 g (1/4 cup) unsalted butter, melted
-
Pinch of salt (if using unsalted butter; enhances chocolate flavor)
For the Blueberry Swirl
-
1 cup wild blueberries (frozen or fresh)
-
1–2 tbsp granulated sugar (optional, adjust to berry sweetness)
-
1 tbsp fresh lemon juice
For the Cream Cheese Filling
-
500 g (2 1/4 cups) full-fat cream cheese, at room temperature
-
1 1/4 cups (300 ml) sweetened condensed milk
-
1/4 cup (60 g) sour cream or plain Greek yogurt, room temperature
-
1 tsp pure vanilla extract
-
1/4 cup (60 ml) fresh lemon juice
-
Pinch of salt
Optional Toppings
-
Fresh or frozen blueberries
-
Extra blueberry sauce (from the swirl)
-
Maple sugar flakes or honey drizzle
-
Whipped cream
-
Lemon zest or mint leaves
Required Kitchen Tools
Having the right equipment ensures smooth preparation and neat results.
-
8×8-inch (20×20 cm) baking pan
-
Parchment paper (for easy removal and clean edges)
-
Food processor or blender (for crust and blueberry swirl)
-
Mixing bowls (at least two)
-
Electric hand mixer or stand mixer
-
Rubber spatula and offset spatula (for spreading layers)
-
Sharp knife (for slicing neat bars)

Step-by-Step Instructions
Begin with a quick, simple crust, then layer up the tangy, fruity filling for freezer-to-table perfection.
-
Line the Pan:
-
Line your 8×8-inch pan with parchment, leaving extra hanging over the sides for easy lifting later.
-
-
Make the Crust:
-
Pulse Oreos into fine crumbs using a food processor or crush in a bag with a rolling pin.
-
Mix crumbs with melted butter and a pinch of salt until well combined.
-
Firmly press into the pan’s base with the back of a spoon or glass.
-
Chill in the fridge while you prepare the filling.
-
-
Prepare the Blueberry Swirl:
-
Combine blueberries, sugar, and lemon juice in a small saucepan.
-
Simmer over medium heat until berries burst and sauce thickens (about 5 minutes), stirring occasionally.
-
Puree until smooth using a blender or food processor. For an extra smooth swirl, strain through a fine mesh sieve and let cool.
-
-
Mix the Cream Cheese Filling:
-
Beat cream cheese in a large bowl until perfectly smooth—scrape the sides often.
-
Add condensed milk, sour cream, vanilla, lemon juice, and salt. Beat until glossy and fully combined.
-
-
Divide and Tint the Filling:
-
Divide the cream cheese mixture evenly into three bowls.
-
In one bowl, blend in 2/3 of the blueberry puree for a deep purple color.
-
In the second, mix in the remaining blueberry puree for a lighter purple.
-
Leave the third bowl plain for a classic creamy layer.
-
-
Layer the Bars:
-
Spread the darkest blueberry mixture evenly over the chilled crust.
-
Carefully add the lighter purple layer, smoothing with an offset spatula.
-
Top with the plain cream cheese mixture, creating a beautiful, gradual ombré effect.
-
-
Freeze to Set:
-
Cover tightly with plastic wrap or foil.
-
Freeze for at least 6 hours, or overnight for the cleanest slices.
-
-
Serve:
-
Remove from the freezer, and let rest at room temperature for 10–15 minutes for easy slicing.
-
Lift out using the parchment, then cut into 9 or 16 squares with a sharp, warm knife.
-

Tips for Perfect Results
A few extra touches ensure flawless results and a beautiful presentation every time.
-
Always use room temperature cream cheese and sour cream for a lump-free, silky filling.
-
If your blueberries are very juicy, reduce puree slightly to avoid runny layers.
-
Chill the crust before layering to prevent crumbs from lifting into the filling.
-
Clean your knife between cuts for sharp, bakery-style bars.
-
Want a firmer texture (for warm-weather events)? Mix 1 teaspoon powdered gelatin (bloomed and melted) into the filling before layering.
-
For a gluten-free crust, use gluten-free chocolate sandwich cookies or graham crackers.
Serving Suggestions
No Bake Blueberry Cheesecake Bars are perfect for both elegant parties and casual treats. Enhance your presentation with these ideas:
-
Top each square with a swirl of whipped cream, a spoonful of blueberry puree, and a few whole berries.
-
Add lemon zest or a sprig of mint for a bright, fresh finish.
-
Dust with powdered sugar or drizzle with honey for extra sweetness.
-
Serve with iced tea, lemonade, or a blueberry mojito for a refreshing pairing.
Final Thoughts
These No Bake Blueberry Cheesecake Bars offer a perfect blend of creamy tang, sweet berries, and a crunchy chocolate base—no oven required. Their eye-catching layers and simple preparation make them an unbeatable summer dessert or any time you want something fruity and special. With a make-ahead method and customizable toppings, they’re guaranteed to impress both family and friends. Give this recipe a try, and enjoy every cool, creamy bite!

Sabrina Khan Tisha is the creative force behind Dessert Diary, a recipe blog celebrating desserts, cakes, cupcakes, muffins, and sweet treats. With a passion for baking, she shares simple, delicious recipes and tips to inspire home bakers everywhere.