Delicious No-Bake Red Rippers Cheesecake Slice Recipe
Looking for a show-stopping dessert that’s easy to make and guaranteed to impress? This no-bake red velvet cheesecake slice recipe brings together everything you love about red velvet cake and cheesecake—without turning on the oven.
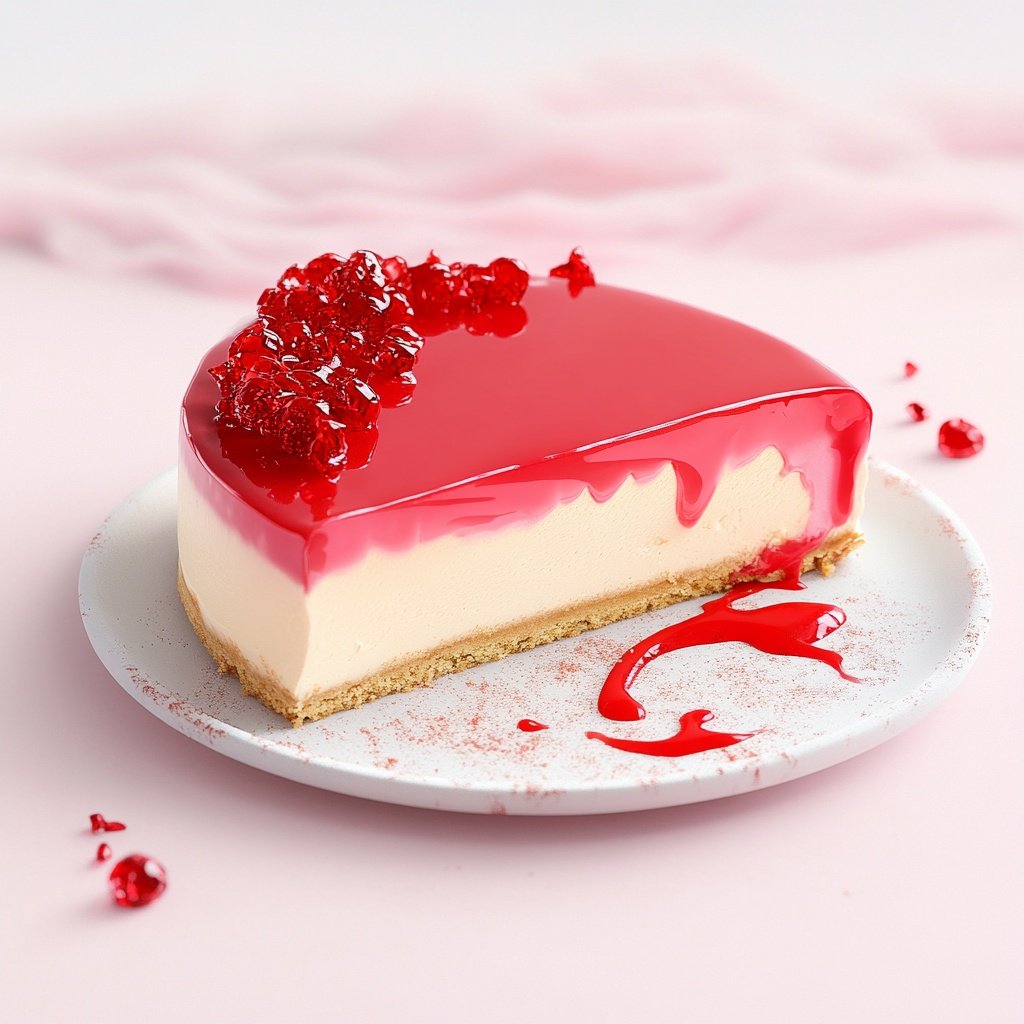
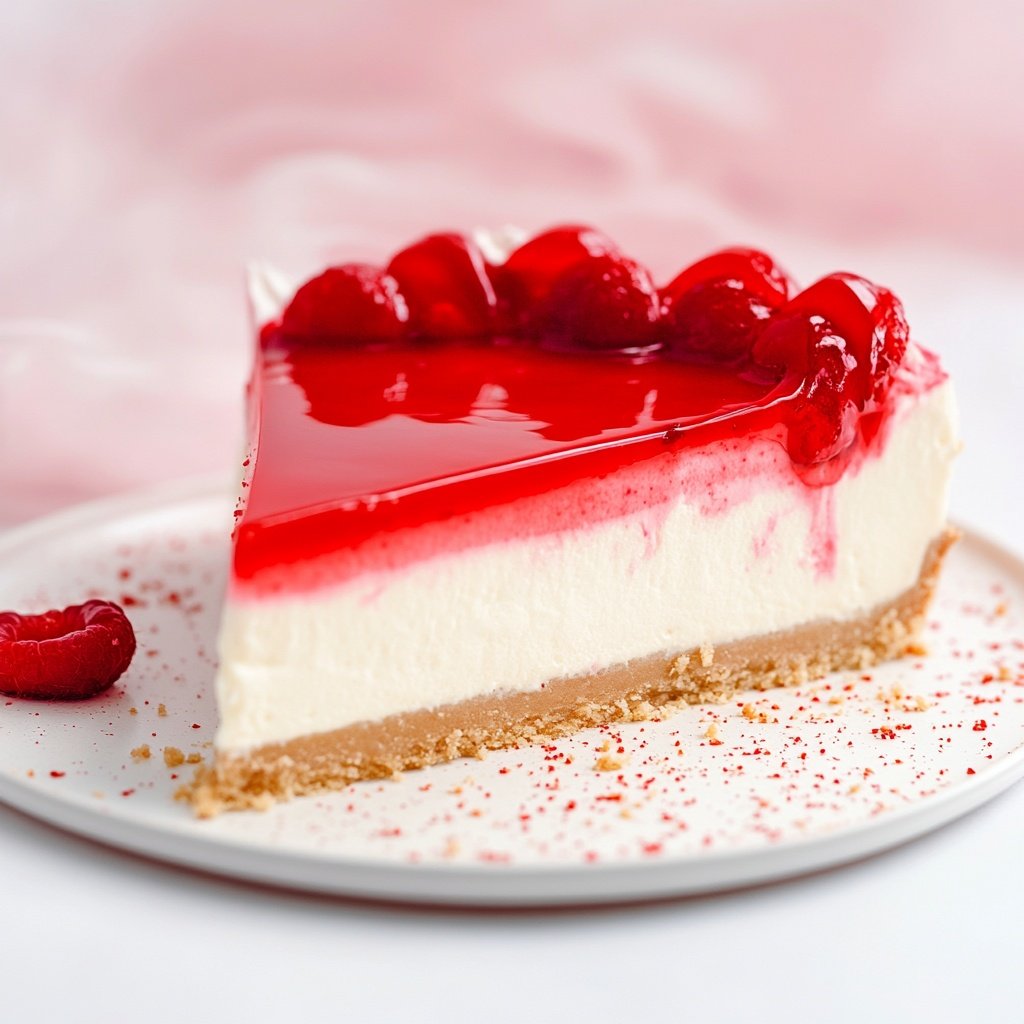
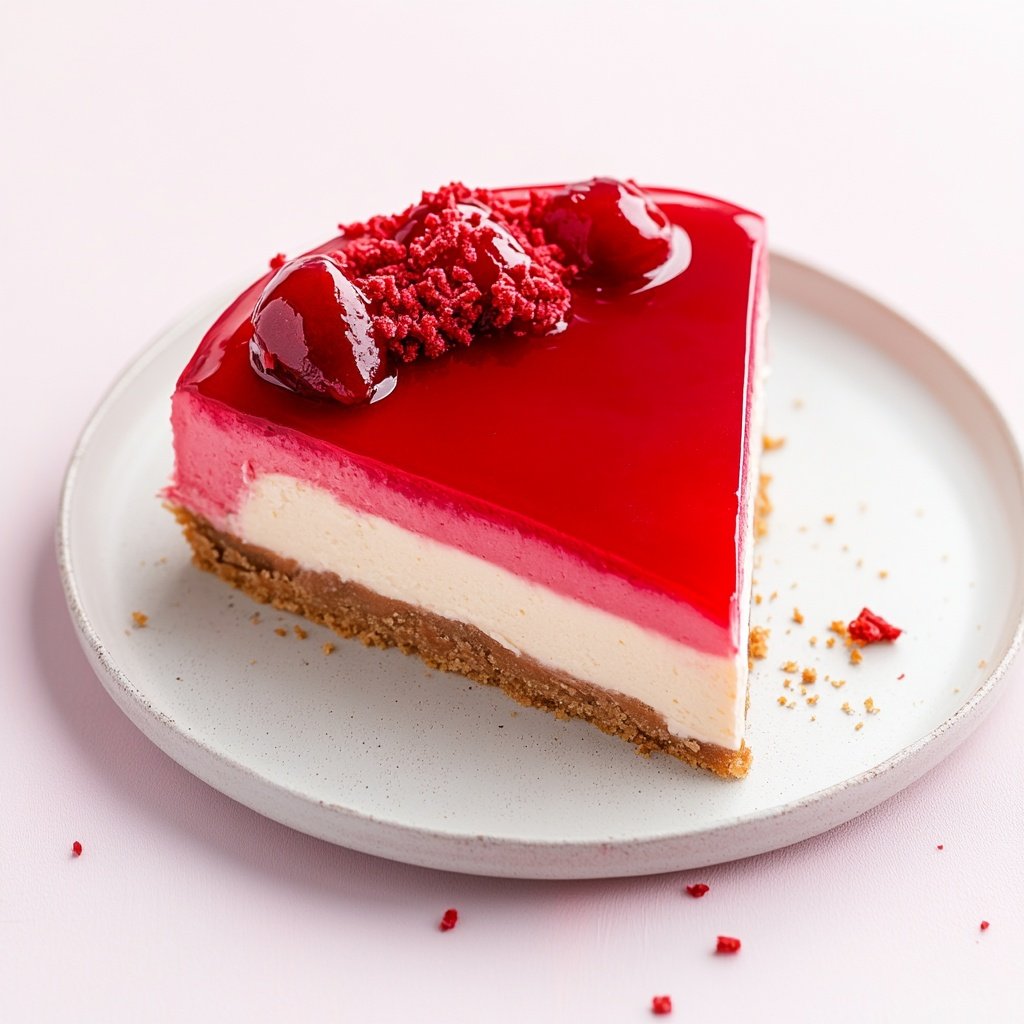
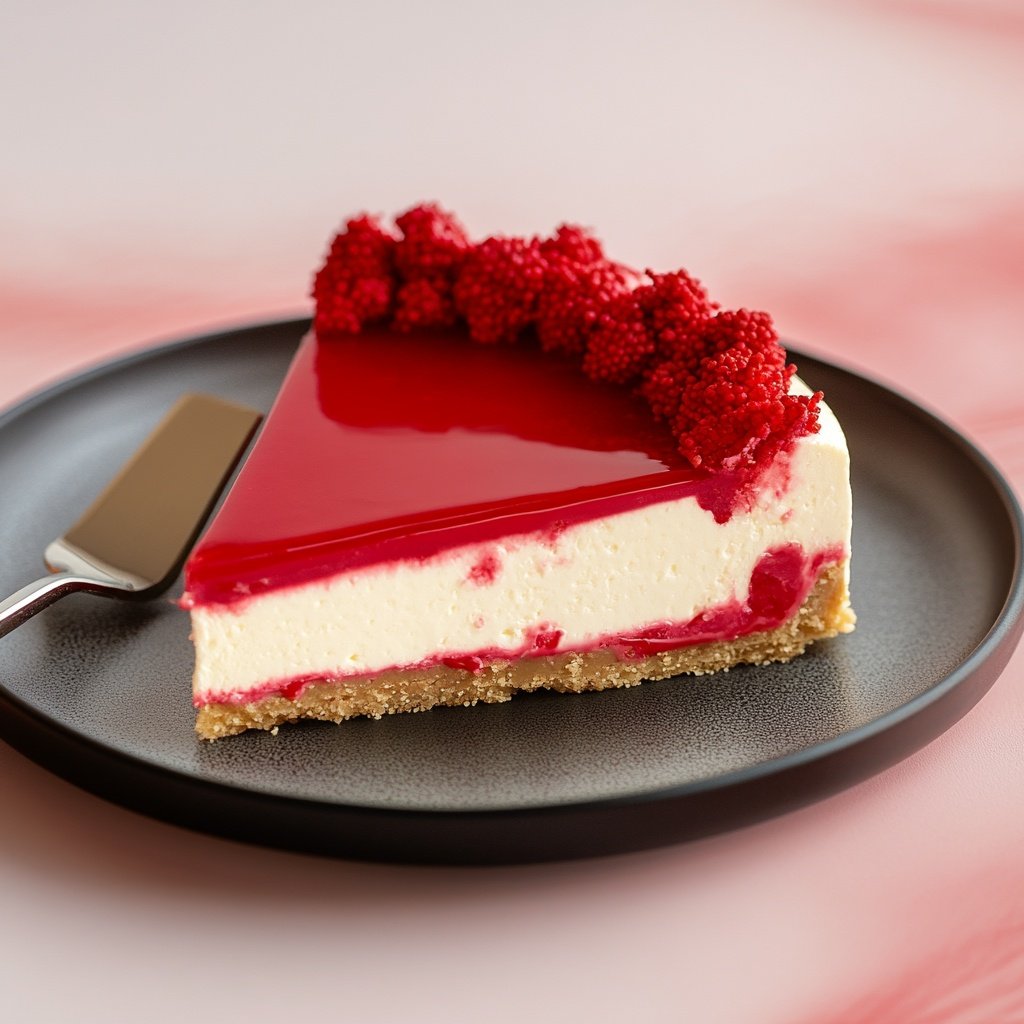
With a crunchy Oreo cookie base, a beautifully marbled red velvet and vanilla cheesecake filling, and plenty of tips for perfect results, this dessert is as satisfying as it is stunning.
Whether you’re hosting a party, celebrating a special occasion, or simply treating yourself, you’ll find this slice delivers rich flavor, creamy texture, and effortless elegance.
Ingredients Checklist
Before you start, gather all your ingredients and tools for a smooth dessert-making experience. Here’s everything you need for each layer and step:
For the Base
-
28 double-stuffed Oreo cookies (or gluten-free chocolate sandwich cookies)
-
1/4 cup (60g) salted butter, melted
For the Cheesecake Filling
-
24 oz (680g) full-fat cream cheese, softened to room temperature
-
1 cup (240ml) heavy cream, cold
-
1/4 cup (60g) sour cream, room temperature
-
2 cups (400g) granulated sugar
-
1 tablespoon pure vanilla bean paste or extract
-
1/2 cup (115g) salted butter, softened
-
1 cup (120g) powdered sugar, sifted
-
2 tablespoons unsweetened cocoa powder, sifted (for red velvet flavor)
-
1–2 teaspoons red gel food coloring (not liquid for best color)
-
1 teaspoon lemon juice (to balance sweetness and enhance tang, optional)
-
1 tablespoon buttermilk (optional, for classic red velvet flavor)
-
2 teaspoons powdered gelatin (or 1 tablespoon agar-agar for a vegetarian option; optional, for extra firmness)
Optional Add-Ins and Garnishes
-
White chocolate shavings
-
Extra Oreos, crushed
-
Red velvet cake crumbs
-
Fresh berries
-
Whipped cream
Equipment Needed
-
20cm (8-inch) square or round springform pan, lined with parchment or acetate sheet
-
Stand mixer or electric hand mixer
-
Food processor or rolling pin
-
Spatula
-
Mixing bowls
-
Measuring cups and spoons
-
Offset spatula (for smoothing)
-
Sharp knife
-
Small saucepan (if using gelatin)
Step-by-Step Instructions
Mastering this no-bake red velvet cheesecake slice is easier than you think—just follow these clear steps, and remember to work with room-temperature dairy for a silky smooth filling.
Prepare the Base:
-
-
Place the Oreos (filling included) in a food processor and blitz to fine crumbs. Alternatively, place in a sealed bag and crush with a rolling pin.
-
Add melted butter to the crumbs and pulse or stir until the mixture resembles wet sand.
-
Press firmly into the bottom of your prepared pan, using the back of a spoon or flat-bottomed glass to create an even layer.
-
Chill the crust in the refrigerator while you prepare the filling, at least 20 minutes.
-
Make the Cheesecake Filling:
-
-
If using gelatin or agar, sprinkle it over 3 tablespoons of cold water and let it bloom for 5 minutes. Gently heat until dissolved, then let it cool slightly.
-
In a large bowl, beat softened cream cheese and softened butter together until creamy and lump-free.
-
Add granulated sugar, sour cream, lemon juice (if using), and vanilla. Beat until well combined and fluffy.
-
In a separate bowl, whip the cold heavy cream to stiff peaks.
-
Fold the whipped cream gently into the cream cheese mixture to maintain airiness.
-
If using gelatin, mix it in now to ensure a stable, sliceable cheesecake.
-
Divide the batter in half. To one half, add sifted cocoa powder, buttermilk (if using), and red gel food coloring. Mix until a vibrant red shade is achieved.
-
Alternate spoonfuls of red and white batter over the crust, then use a skewer or knife to gently swirl the colors for a marbled effect.
-
Chill and Set:
-
-
Smooth the top with an offset spatula. Cover with plastic wrap and chill in the refrigerator for at least 6 hours, preferably overnight, to allow the cheesecake to set fully and develop its flavors.
-
Slice and Serve:
-
-
Remove from the pan using the parchment or acetate overhang for clean edges.
-
For neat slices, dip a sharp knife in hot water, wipe dry, and slice. Repeat between cuts for a professional look.
-
Tips for Perfect Results
To guarantee flawless no-bake red velvet cheesecake slices every time, keep these essential tips in mind:
-
Use full-fat cream cheese for the richest, creamiest texture—avoid low-fat versions, which can make the filling too soft.
-
Always bring your cream cheese, sour cream, and butter to room temperature before mixing to prevent lumps.
-
Use gel or paste food coloring for a vivid, consistent red hue without adding excess liquid.
-
Whip the cream until it forms stiff peaks but don’t over-mix, or it may become grainy.
-
If you’re in a warm or humid climate, use gelatin or agar to help the cheesecake slice keep its shape.
-
Allow plenty of chilling time; overnight is best for clean, sturdy slices and optimal flavor.
-
Line your pan with parchment or acetate for easy removal and sharp edges.
-
Don’t rush the marbling—gently swirl for a defined, artistic look without over-mixing the colors.
Serving Suggestions
Dress up your no-bake red velvet cheesecake slice to match the occasion or your personal taste. Here are a few ideas to elevate your dessert:
-
Top with white chocolate shavings, extra Oreo crumbs, or a dusting of cocoa powder for visual contrast and extra flavor.
-
Add a generous swirl of whipped cream and scatter fresh berries—like raspberries or strawberries—for a burst of color and freshness.
-
Drizzle with melted dark or white chocolate for a decadent finishing touch.
-
Pair with coffee, black tea, or a glass of milk for a comforting dessert moment.
-
For a festive touch, cut slices into hearts or fun shapes and decorate with sprinkles or edible flowers.
Final Thoughts
No-bake red velvet cheesecake slice is the ultimate treat for anyone seeking a bold, creamy dessert without the fuss of baking.
This recipe ensures stunning presentation and indulgent taste every time, thanks to its balanced flavors, velvety texture, and eye-catching marbled finish.
Adapt the recipe to suit your preferences—try gluten-free cookies, a vegan filling, or creative garnishes to make it your own.
With the right tips and a little patience, you’ll have a dessert that’s as memorable as it is delicious. Enjoy sharing this irresistible slice with friends and family, or simply savor every bite yourself.

Sabrina Khan Tisha is the creative force behind Dessert Diary, a recipe blog celebrating desserts, cakes, cupcakes, muffins, and sweet treats. With a passion for baking, she shares simple, delicious recipes and tips to inspire home bakers everywhere.