Easy Peanut Butter Chocolate Chip Cookies Recipe
Few things are more comforting than a warm, gooey peanut butter chocolate chip cookie straight from the oven. This recipe delivers everything you love: a soft, chewy center, golden edges, and the unbeatable combo of rich peanut butter and melty chocolate.
Using both brown and white sugars for depth, a mix of butter and peanut butter for perfect texture, and just the right amount of salt, these cookies are pure bakery-style bliss.
Ready in under 30 minutes, they’re easy enough for a weeknight and delicious enough for any occasion.
Ingredients Checklist
For 24 standard cookies (recipe scales easily):
Dry Ingredients
-
1 ½ cups (190g) all-purpose flour, spooned and leveled
-
½ teaspoon baking soda
-
¼ teaspoon baking powder
-
¼ teaspoon fine salt
Wet Ingredients
-
½ cup (115g) unsalted butter, softened
-
½ cup (125g) creamy peanut butter (no-stir for best texture)
-
½ cup (100g) light brown sugar, packed
-
½ cup (100g) granulated sugar
-
1 large egg (room temperature)
-
2 teaspoons pure vanilla extract
Add-ins
-
1 ¼ cups (200g) semi-sweet or dark chocolate chips (reserve some for topping)
-
Optional: ½ cup roasted salted peanuts, chopped

For Finishing
-
Flaky sea salt for sprinkling
Equipment
-
Large and medium mixing bowls
-
Electric mixer or sturdy whisk
-
Cookie scoop or tablespoon
-
Baking sheet and parchment paper
-
Cooling rack
Step-by-Step Instructions
1. Prep
Preheat oven to 350°F (177°C). Line baking sheets with parchment paper.
2. Whisk Dry Ingredients
In a medium bowl, whisk flour, baking soda, baking powder, and salt. Set aside.
3. Cream Butter & Sugars
In a large bowl, beat softened butter, peanut butter, brown sugar, and granulated sugar until smooth, light, and creamy (about 2 minutes).
4. Add Egg & Vanilla
Mix in the egg and vanilla until fully incorporated, scraping the sides as needed.
5. Combine Wet & Dry
Gradually add dry ingredients to the wet mixture, mixing on low or by hand until just combined. Do not overmix.
6. Add Chocolate Chips
Fold in chocolate chips and chopped peanuts (if using).

7. Scoop & Bake
Scoop 2-tablespoon-sized balls of dough onto prepared baking sheets, spacing 2 inches apart. For thick cookies, chill dough balls for 30 minutes (optional but recommended for hot kitchens). Press a few extra chocolate chips onto each dough ball for a bakery look.
8. Bake
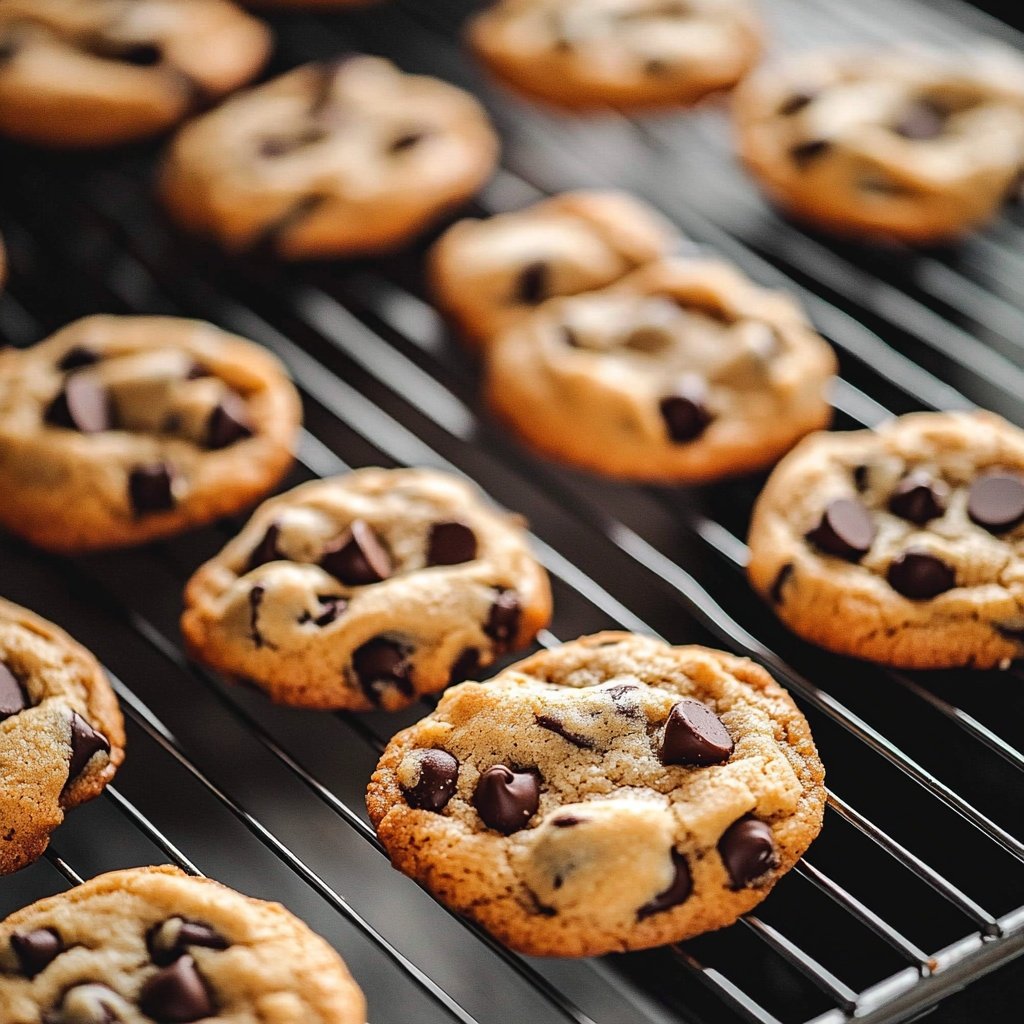
Bake 10–12 minutes, until edges are golden but centers look just set (they’ll continue to cook on the tray). Rotate pans halfway for even browning.
9. Finish & Cool
Sprinkle cookies with flaky sea salt immediately. Cool on the baking sheet for 5 minutes, then transfer to a rack.
Tips for Perfect Results
-
For Extra Chewy Cookies: Add an extra egg yolk and slightly underbake.
-
For Crispier Edges: Extend bake time by 1–2 minutes.
-
Peanut Butter Matters: No-stir peanut butter makes thicker, chewier cookies; natural peanut butter will yield flatter, crumblier cookies.
-
Make it Gluten-Free: Substitute a 1:1 gluten-free flour blend.
-
Make it Vegan: Use a flax egg (1 tbsp ground flax + 2.5 tbsp water, set 5 min) and vegan butter.
-
Add-Ins: Try milk, dark, or white chocolate chips, peanut butter chips, chopped Reese’s cups, or a swirl of Nutella.
-
Chilling the Dough: For the thickest, bakery-style cookies, chill dough for 30–60 minutes before baking.

Serving Suggestions
-
With Milk or Coffee: Classic and always satisfying.
-
Ice Cream Sandwiches: Use two cookies with vanilla or chocolate ice cream.
-
Dessert Platter: Pair with brownies, fruit, or peanut butter cups.
-
Lunchbox Treats: Wrap in parchment for a midday snack.
Storage & Freezing
-
Room Temp: Store cooled cookies in an airtight container up to 1 week.
-
Freeze Baked Cookies: Freeze for up to 3 months. Thaw at room temperature.
-
Freeze Dough: Scoop dough balls onto a tray, freeze until solid, then store in a zip-top bag. Bake from frozen, adding 2–3 minutes.
Final Thoughts
These peanut butter chocolate chip cookies deliver maximum flavor with minimal effort, making them perfect for any baker.
With helpful tips, ingredient swaps, and expert troubleshooting, you’re set up for success—whether you’re baking for a crowd or just for yourself. Try a batch today and enjoy a bakery-worthy treat right from your own oven!

Sabrina Khan Tisha is the creative force behind Dessert Diary, a recipe blog celebrating desserts, cakes, cupcakes, muffins, and sweet treats. With a passion for baking, she shares simple, delicious recipes and tips to inspire home bakers everywhere.