Pastéis de Nata (Portuguese Custard Tarts)
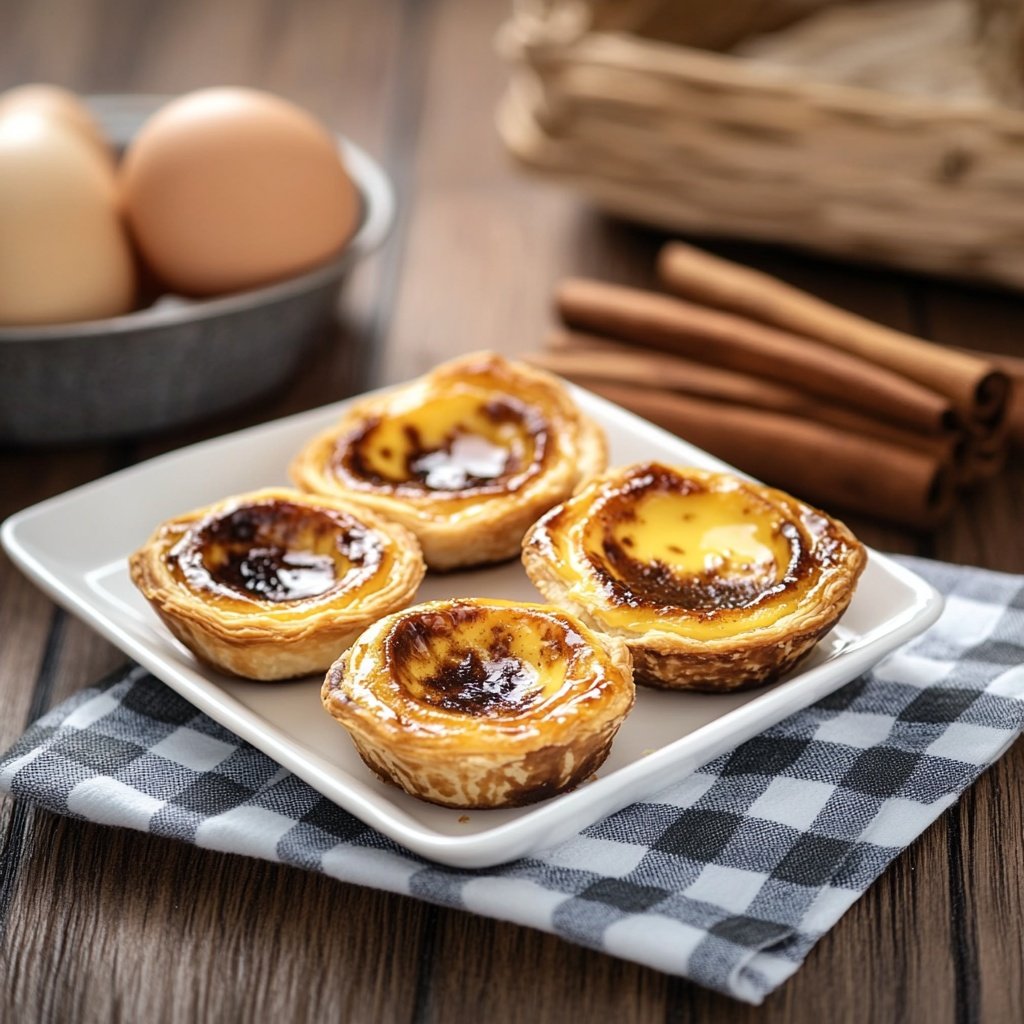
Portuguese Custard Tarts, known locally as Pastéis de Nata, are beloved icons of Portugal’s baking tradition. These treats are cherished for their crisp, flaky pastry and creamy, caramelized custard filling.
Originally crafted by monks in Lisbon, the tarts have become a staple in Portuguese cafés and are now enjoyed worldwide. Making these tarts at home is a rewarding process that combines simple ingredients with precise technique.
Whether you’re new to baking or an experienced dessert enthusiast, this recipe delivers authentic results and celebrates the rich history of this celebrated pastry.
Ingredients Checklist
The key to truly excellent Portuguese Custard Tarts is the quality and balance of ingredients. Start by gathering these essentials for both the pastry shells and the custard filling:
-
1 sheet (about 250g) good-quality puff pastry, thawed if frozen
-
1 cup (240ml) whole milk
-
1/2 cup (120ml) heavy cream
-
3/4 cup (150g) granulated sugar
-
3 tablespoons (25g) all-purpose flour
-
4 large egg yolks, at room temperature
-
1 teaspoon vanilla extract
-
Lemon peel (1 strip, optional but authentic)
-
1 cinnamon stick (optional but traditional)
-
Pinch of salt
-
Butter, for greasing the tin
-
Ground cinnamon, for dusting (optional)
Definition List:
-
Puff Pastry: A laminated dough made of many thin layers of dough and butter, which creates a light, crisp texture when baked.
-
Egg Yolks: The yellow part of the egg, crucial for making custards rich and smooth.
-
Caramelization: The process of browning sugar or custard under high heat, which adds flavor and color.
Tip: For best results, weigh your ingredients for accuracy and consistency.

Step-by-Step Instructions
Making Pastéis de Nata involves several clear steps. Follow this guide closely for best results, and refer to the tips for troubleshooting common pitfalls.
-
Prepare the Puff Pastry Shells:
-
Roll your thawed puff pastry into a tight log, starting from the short end for maximum layers. Slice into 12 equal discs. Place each disc, spiral side up, into the greased cups of a standard 12-cup muffin tin. Using damp fingers, gently press and stretch the pastry to line the bottom and sides, reaching just above the rim. Try to keep the thickness even for uniform baking. Place the tin in the refrigerator while preparing the custard.
-
-
Make the Authentic Custard Filling:
-
In a saucepan, whisk together sugar, flour, and a pinch of salt. Gradually add the milk and heavy cream, whisking continuously to prevent lumps. Add a strip of lemon peel and a cinnamon stick for traditional aroma and depth.
-
Place the pan over medium heat and cook, stirring often, until the mixture thickens enough to coat the back of a spoon (about 5–7 minutes). Remove from heat and discard the lemon peel and cinnamon stick. Let the mixture cool for 5 minutes.
-
In a separate bowl, whisk the egg yolks and vanilla extract. Slowly pour in a small amount of the warm milk mixture to temper the yolks, whisking constantly. Gradually add the rest of the milk mixture to the yolks, whisking until smooth and glossy. If you notice any lumps, strain the custard through a fine-mesh sieve.
-
-
Fill and Bake the Tarts:
-
Preheat the oven to 480°F (250°C) or as hot as your oven safely allows. This high temperature is essential for creating the signature caramelized tops and crispy pastry.
-
Pour the custard into the chilled pastry shells, filling each about three-quarters full. Avoid overfilling, as the custard will rise and may overflow.
-
Bake for 15–18 minutes, rotating the tray halfway for even coloring. The custard should puff up, then settle with deep brown spots on the surface. The pastry edges should be golden and crisp.
-
-
Cool and Finish:
-
Let the tarts cool in the tin for 5–10 minutes, then carefully transfer to a wire rack. Dust with ground cinnamon before serving if desired.
-

Tips for Perfect Results
Every baker encounters a learning curve when making Pastéis de Nata, but these tips will help you get bakery-quality tarts from your home kitchen:
-
High Heat is Key: The classic caramelized spots on top are achieved by baking at a very high temperature. If your oven doesn’t reach 480°F, use the broiler for the last 1–2 minutes, watching closely.
-
Chill the Pastry Thoroughly: Cold pastry creates distinct, flaky layers and prevents shrinking or soggy bottoms.
-
Don’t Overcook the Custard: Remove the tarts from the oven when the tops are caramelized, but the centers still jiggle slightly; they will firm up as they cool.
-
Strain for Silky Texture: Always strain the custard if it looks at all lumpy—this ensures a smooth filling.
-
Lemon and Cinnamon Add Depth: Authentic bakeries often infuse the custard with a strip of lemon peel and cinnamon stick, not just ground cinnamon on top.
-
Use Metal Muffin Tins: Avoid silicone for crisper shells.
-
Store-Bought vs. Homemade Puff Pastry: Store-bought is convenient, but if you prefer to make your own, use a recipe with lots of folding and resting for maximum flakiness.

Serving Suggestions
Pastéis de Nata are best enjoyed fresh and slightly warm, when the pastry is crisp and the custard creamy. For the most authentic experience, follow these serving ideas:
-
Serve with a dusting of ground cinnamon and, if you like, a touch of powdered sugar.
-
Pair with a strong espresso or Portuguese-style coffee.
-
Arrange on a platter as part of a dessert spread for parties or brunch.
-
Offer alongside fresh fruit or a dollop of whipped cream for an elegant touch.
-
For a modern twist, serve with a drizzle of honey or citrus zest.
Tip: In Portugal, these tarts are often served right from the bakery oven—aim to eat them within a few hours of baking for the best texture.
Final Thoughts
Mastering Portuguese Custard Tarts at home brings a taste of Lisbon’s vibrant café culture to your kitchen. With their combination of crisp pastry and luscious custard, Pastéis de Nata are a dessert that never fails to impress.
This comprehensive recipe, with extra attention to traditional flavors, troubleshooting, and serving inspiration, ensures success whether you’re baking for the first time or refining your technique.
Enjoy your journey into the world of classic Portuguese pastries—these golden delights are sure to become a favorite.

Sabrina Khan Tisha is the creative force behind Dessert Diary, a recipe blog celebrating desserts, cakes, cupcakes, muffins, and sweet treats. With a passion for baking, she shares simple, delicious recipes and tips to inspire home bakers everywhere.