Delightful Sea Otter Cupcake
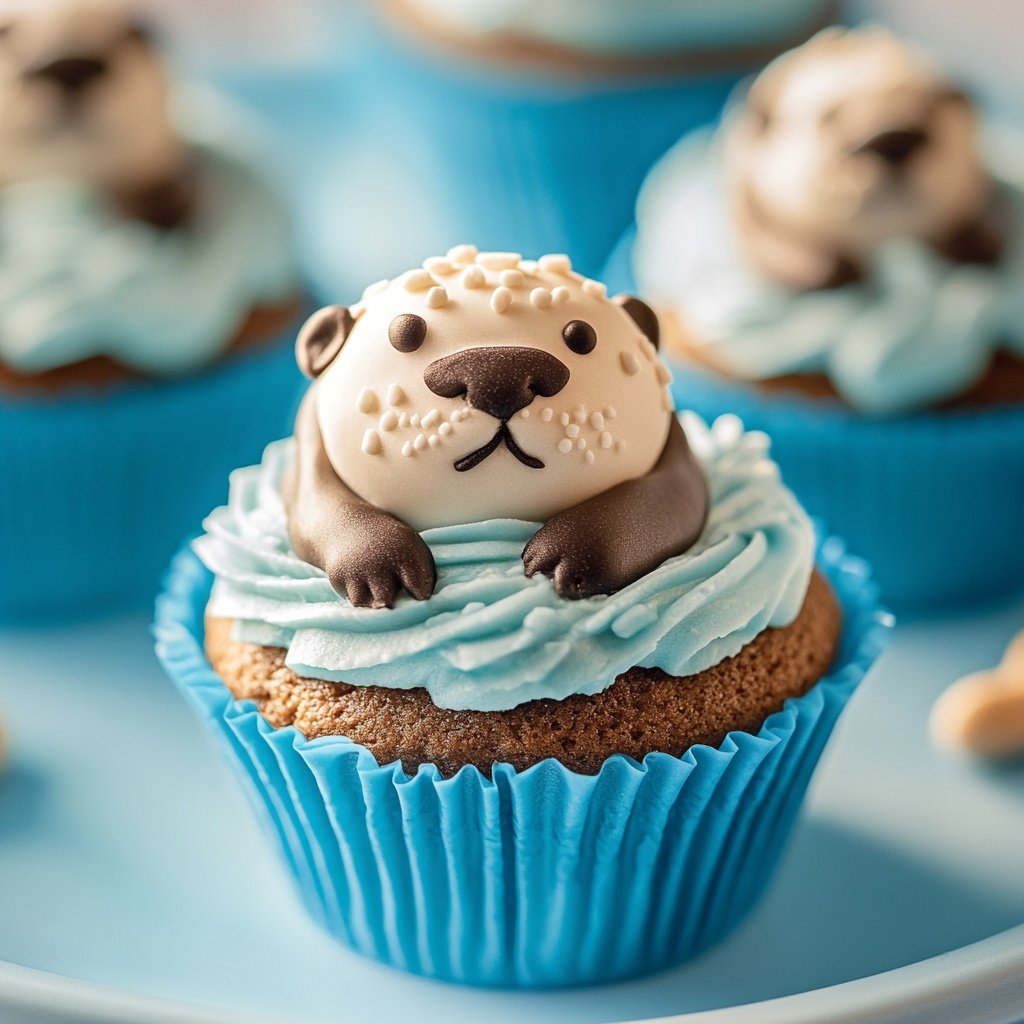
Sea otter cupcakes are guaranteed to charm both children and adults, making them the centerpiece of any party or themed event. With their playful faces and delicious chocolate base, these cupcakes are not only fun to look at but also delicious to eat.
Even if you’re new to modeling chocolate, this recipe makes it approachable—offering detailed guidance, allergy-friendly swaps, and creative options for every skill level.
Dive in and create a batch of cupcakes that will spark smiles, laughter, and plenty of compliments.
Ingredients Checklist
Crafting adorable sea otter cupcakes is easier than it looks when you have all your ingredients and tools prepared. Here’s what you’ll need to get started:
For the Cupcakes:
-
-
12 chocolate cupcakes (homemade or store-bought)
-
12 Reese’s Cups (or substitute with solid chocolate disks for nut allergies)
-
For the Otter Decorations:
-
-
Brown modeling chocolate (or chocolate fondant)
-
Black modeling chocolate (or black fondant)
-
White modeling chocolate (or white fondant)
-
Candy eyes, chocolate chips, or small round candies for facial details
-
Edible black marker or food coloring gel for expressions
-
Optional Add-Ins:
-
-
Blue buttercream for a water effect
-
Crushed graham crackers or cookies for “sand”
-
Edible glitter or sugar pearls for fun accents
-

Ingredient Tips and Variations:
-
To make modeling chocolate at home, melt 8 oz (225 g) chocolate and mix in 1/4 cup (80 g) corn syrup or honey. Let cool and knead until pliable.
-
For nut-free, skip Reese’s Cups and use chocolate sandwich cookies or fudge disks.
-
Vegan option: Use dairy-free chocolate, vegan cupcakes, and plant-based butter in the modeling chocolate.
-
Food allergies: Choose allergy-friendly candies for eyes/noses, and check all ingredients carefully.
Step-by-Step Instructions
Bringing these sea otters to life involves baking (or prepping) cupcakes, making modeling chocolate, crafting decorations, and assembling each character. Prepare all components before starting the final assembly for best results.
Bake the Cupcakes:
Preheat oven to 350°F (175°C). Line a cupcake tin with paper liners. Prepare your favorite chocolate cupcake batter and fill each liner two-thirds full. Bake as directed, usually 15–18 minutes, or until a toothpick inserted in the center comes out clean. Let cupcakes cool completely on a wire rack.
Prepare Modeling Chocolate:
For homemade: Melt chocolate gently and stir in corn syrup or honey. Let the mixture sit until firm, then knead until smooth. Divide and color portions with gel food coloring as needed for brown, black, and white.
Shape Otter Faces and Features:
-
-
Heads: Roll brown modeling chocolate into a thick disk about 1–1.5 inches across for each otter’s head.
-
Muzzles: Shape a smaller oval from lighter brown or white modeling chocolate and press gently onto each head.
-
Ears: Form two small balls, flatten, and attach to the top sides of the head.
-
Noses: Roll tiny balls of black modeling chocolate, then press in the center of the muzzle.
-
Eyes: Use small white balls of modeling chocolate or candy eyes, dot with black edible marker or a tiny piece of chocolate for pupils.
-
Arms (optional): Roll two short, thin logs of brown modeling chocolate for otter arms to “hold” a Reese’s Cup.
-

Add Facial Details:
- Use an edible marker to draw whiskers, a mouth, and any extra expressions. For extra cuteness, vary eye shapes and smiles so every otter is unique.
Assemble the Cupcakes:
-
-
Frost each cupcake with a swirl of chocolate or vanilla buttercream, smoothing the surface.
-
Place a Reese’s Cup (or chocolate disk) in the center for the otter’s belly.
-
Set the otter head at the top edge of the cupcake, then add the arms so they “hug” the Reese’s Cup.
-
Finish with eyes, noses, and ears—secure features with a dab of frosting or melted chocolate if needed.
-
Final Touches:
For a whimsical scene, pipe blue frosting “waves” around the otters, sprinkle “sand” with crushed cookies, or add fondant seaweed and shells.

Tips for Perfect Results
Success with character cupcakes is all about preparation and detail. Here are expert strategies to guarantee a stunning and stress-free decorating session:
-
Make modeling chocolate ahead: It becomes easier to shape when rested overnight. Keep wrapped in plastic until ready to use.
-
Prevent sticky hands: Dust with a little cornstarch or powdered sugar while shaping decorations.
-
Use tools: Small sculpting tools, toothpicks, or the back of a spoon make it easy to add fur textures and facial features.
-
Customize expressions: Give each otter a unique personality by altering smiles, eye sizes, or accessory placements.
-
Practice first: Make one or two test otters on a flat plate before starting on the cupcakes.
-
Chill to set: If decorations get soft, refrigerate for a few minutes to firm them up before assembly.
-
Keep cupcakes covered: Assemble close to serving time for best appearance and freshness.
Serving Suggestions
Sea otter cupcakes are showstoppers at kids’ parties, ocean-themed gatherings, or baby showers. Here are creative ways to present and enjoy them:
-
On a platter: Arrange cupcakes on a blue or teal tray for a “sea” effect.
-
With themed décor: Surround with plush otter toys, shells, or ocean-inspired tablecloths.
-
Paired with drinks: Serve with lemonade, chocolate milk, or blue punch for a fun, cohesive menu.
-
Party favors: Box individual cupcakes in clear cases with a ribbon for take-home treats.
-
DIY decorating station: Let guests decorate their own otters with modeling chocolate and candies for an interactive party activity.
Final Thoughts
Sea otter cupcakes combine whimsical fun with irresistible flavor—perfect for celebrations big and small.
Whether you’re an experienced cake decorator or a beginner exploring edible art, this recipe guides you through each step, offering flexible options for all skill levels and dietary needs.
With a bit of planning and creativity, you’ll create cupcakes that not only taste delicious but also capture the imagination of everyone at your table. Enjoy the process, and watch these adorable otters become the highlight of your next event!

Sabrina Khan Tisha is the creative force behind Dessert Diary, a recipe blog celebrating desserts, cakes, cupcakes, muffins, and sweet treats. With a passion for baking, she shares simple, delicious recipes and tips to inspire home bakers everywhere.